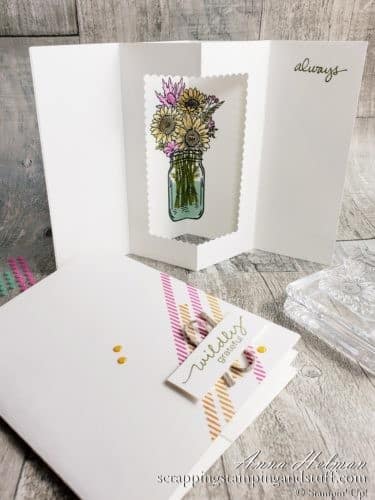
It’s time for a fun fold! I’ve been sharing a fun fold card each week, and I’m excited about today’s Tunnel Card tutorial. This card design is very basic on the outside with an exciting surprise inside. Take a look!
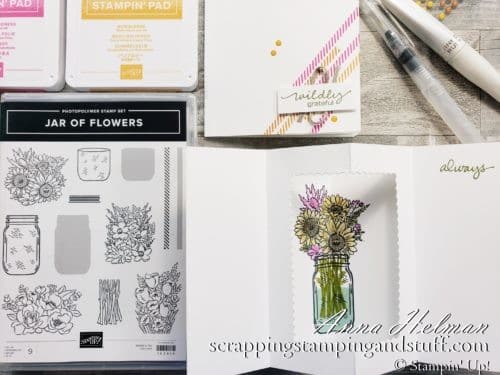
I used the Stampin Up Jar of Flowers stamp set on this card. It’s such a pretty set. To see a fun shaker card I made with this stamp set, check it out here.
Let’s get started with this Tunnel Fold tutorial! For video instructions, keep on scrolling.
Materials
To make this card, you’ll need the following consumable supplies. A list of the full materials needed is included at the bottom of this post along with ordering links.
- 5 1/2″ x 8 1/2″ Whisper White thick cardstock, not scored in the center
- 5 1/2″ x 8 1/2″ Whisper White regular cardstock
Instructions
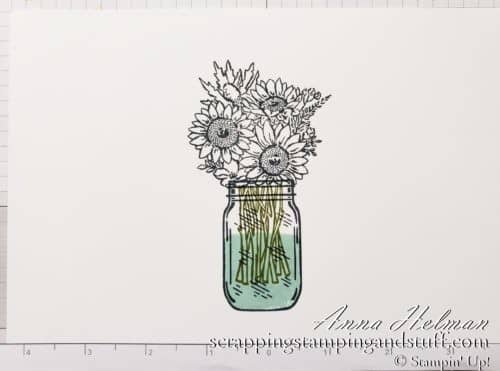
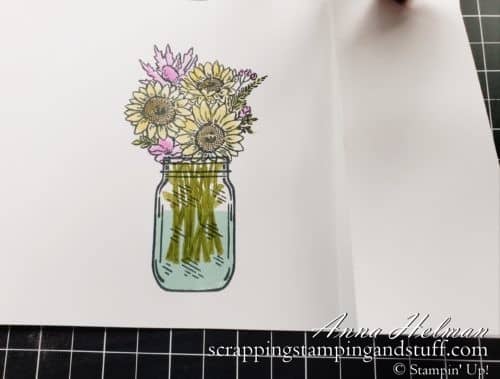
Prepare the stamped image on the inside of the card. Line up your thick white cardstock on grid paper to make it easy to tell where the center is. Stamp the images from the Jar of Flowers stamp set with Memento black ink. Add water with Pool Party ink and stems with Old Olive.
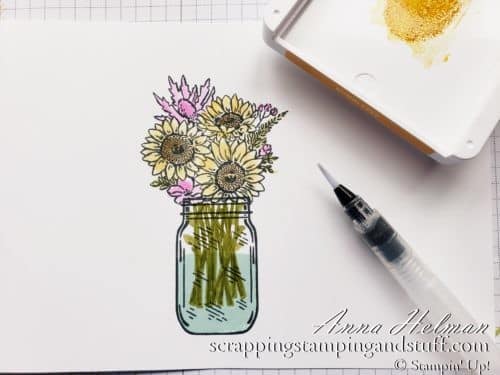
Color the images with a water painter and the following ink colors: Old Olive, Bumblebee, Magenta Madness, and Soft Suede.
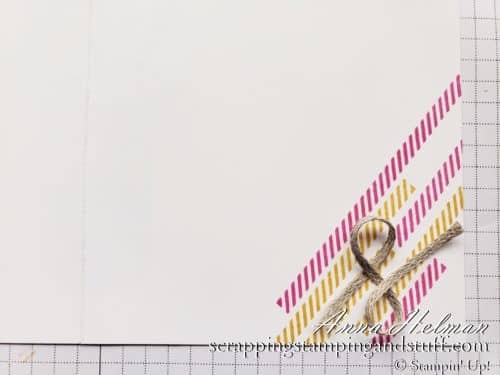
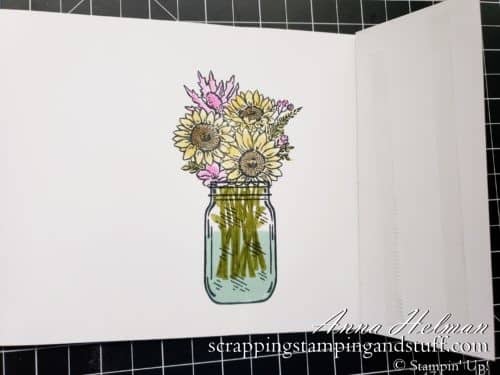
When the image is fully stamped and colored, fold the cardstock in half. Next, stamp the front of the card as desired.
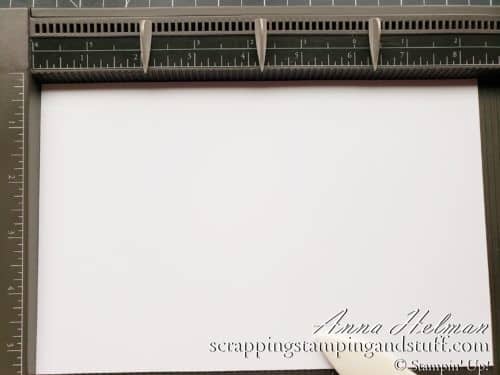
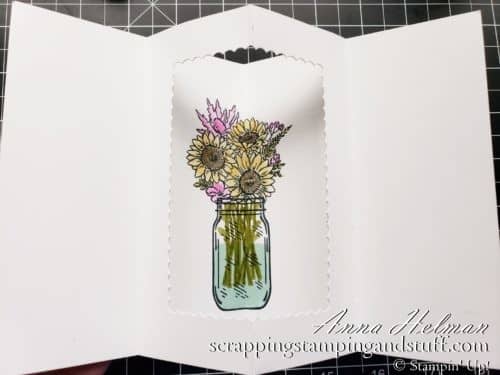
Using the second piece of white cardstock, prepare it by scoring it at 2 1/8″, 4 1/4″, and 6 3/8″.
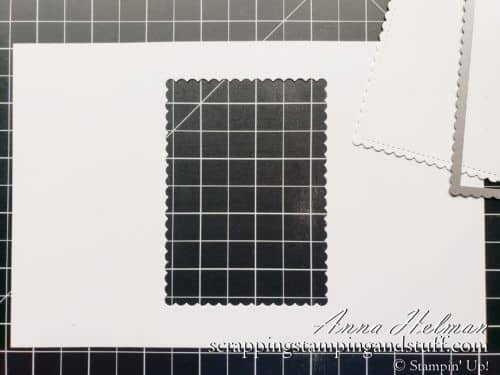
Die cut the large rectangle from the Stitched So Sweetly die set from the center, by aligning it with the center score line.
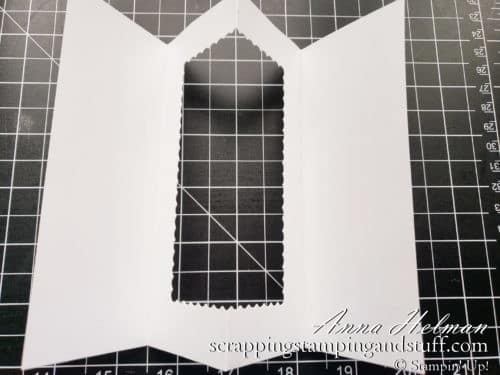
Fold the piece on the score lines into a W shape.
Place strong adhesive onto the back side of the right panel. Fold all pieces flat and lay directly on top of the stamped card base, aligning with the right edge of the card to adhere the pieces together.
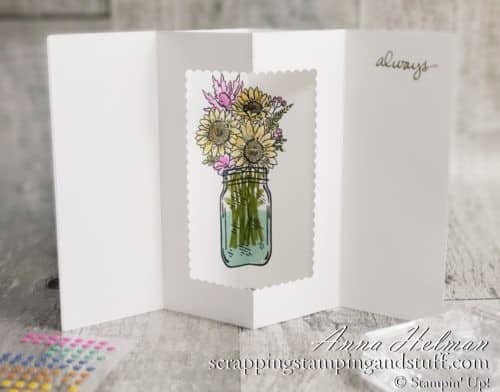
Next, place strong adhesive onto the panel of your folded cardstock that is face up.
Press down to flatten the folded piece and fold the card closed (left side on top of right) to adhere.
So pretty!
Video Tutorial
Watch along as I show exactly how to make this card!
Thanks for joining in for today’s tunnel fold card tutorial! Stop back again soon!
Please make me your Stampin’ Up! demonstrator! Earn rewards points towards free stamps PLUS a gift when you order using August host code: P7URKZUU. PLUS, with your first order, you’ll receive free catalogs in your thank you package!

Sign Up For My Upcoming Virtual Card Classes!
Order the products I used and make this project yourself!

")


 Braided Linen Trim")


You May Also Like:
[…] Tunnel Card Tutorial – Featured Fun Fold […]