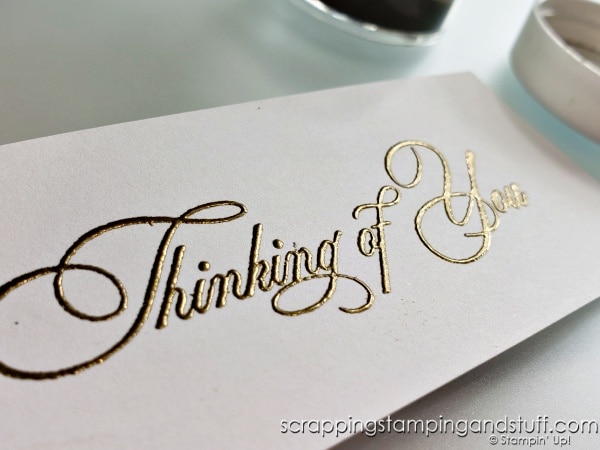
Later this week Stampin Up will be releasing our July-December Mini Catalog, which means your time is running short to pick up retiring items from the January-June Mini Catalog. If you want to shop the Last Chance Sale, do it now! As for today’s project, I’ve been using the new Stampin Up Embossing Additions Tool Kit, and it made me think that I should share some of my best tips for heat embossing with you. Let’s do that today!
Best Tips For Heat Embossing Video
Watch along here as I walk you through how to heat emboss along with my best tips for success!
Intro To Heat Embossing
If you’re new to heat embossing, you may want to take a look here where I explain all about how to heat emboss.
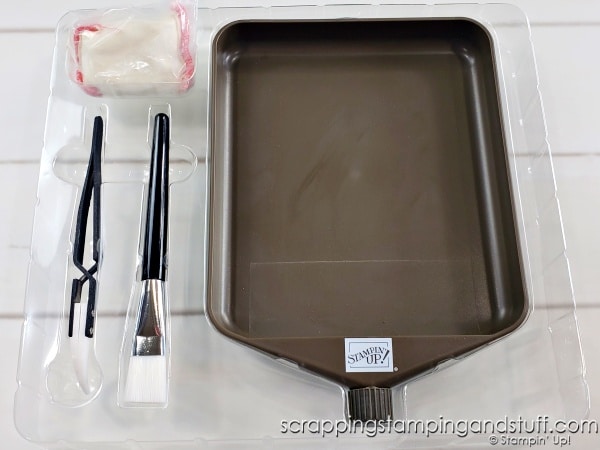
Embossing Additions Tool Kit
Here you can see the new tool kit that inspired today’s post. It will be available July 1, and it includes an embossing buddy, reverse tweezers, brush, and tray. I’ll explain more about these pieces below.
Best Tips For Embossing
Here are my best tips!
1. Always Use An Embossing Buddy!
The embossing buddy removes moisture and static from your paper to prevent excess embossing powder from sticking where it shouldn’t. A while back I shared how to make your own embossing buddy, but the DIY version is definitely not as handy as the one in the kit because the handmade one leaks powder. To use an embossing buddy, just rub it over your paper before you begin.

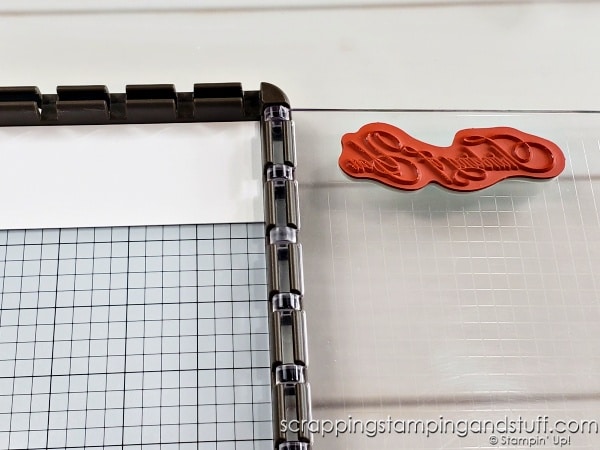
2. Use the Stamparatus
When you mount your stamp to the Stamparatus, you can stamp 2 or 3 times in the same place to make sure the full image is stamped properly before applying embossing powder.
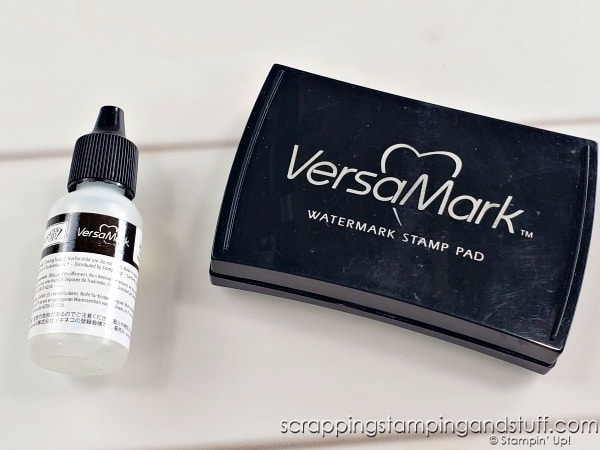
3. Keep Your Versamark Pad Well-Inked
A dry pad will give less-than-ideal results. Keep an ink refill on hand (link at the bottom if you need one) and keep your pad nice and juicy.
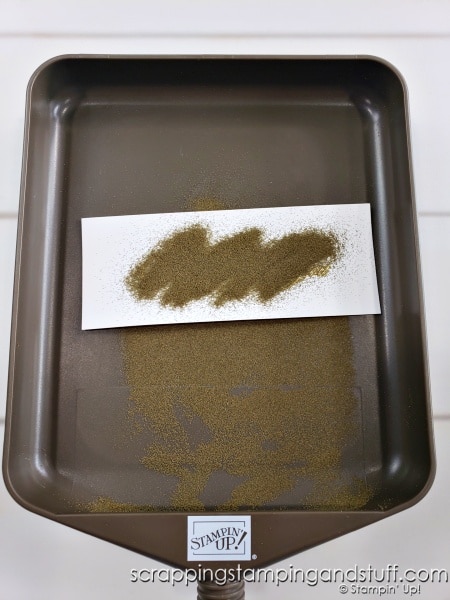
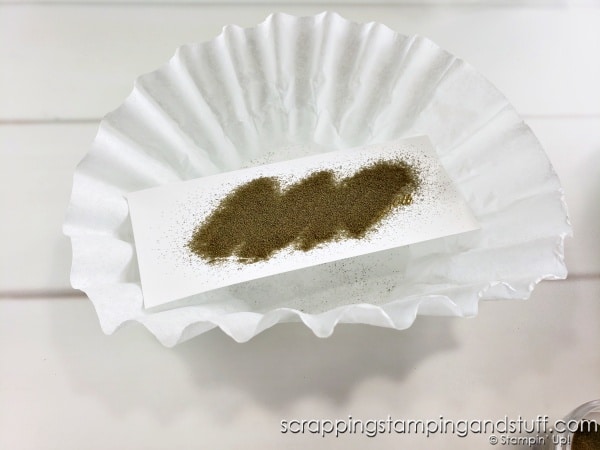
4. Use A Tray Or Coffee Filter To Catch Powder
Then pour the excess powder back into the jar to reuse next time.
5. Flick The Back
After you’ve poured the powder over and removed the excess, give the back of your paper a good ‘flick’ with your finger to remove any stray powder sticking to the paper.
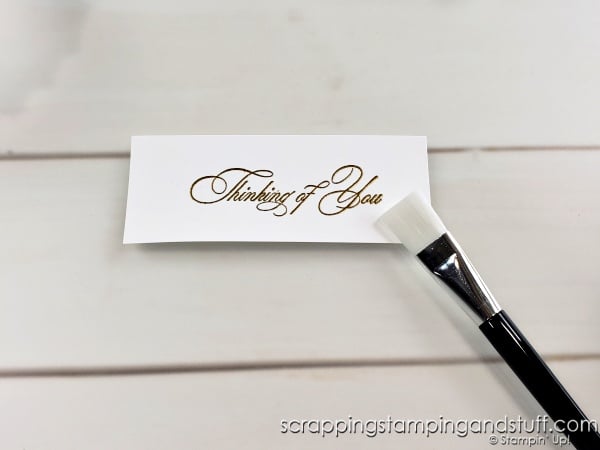
6. Use A Brush For Excess Powder
If you had extra ink on the front of your cardstock (for example if you ever get that extra line around the image), embossing powder likely stuck to it. Use a brush to remove it.
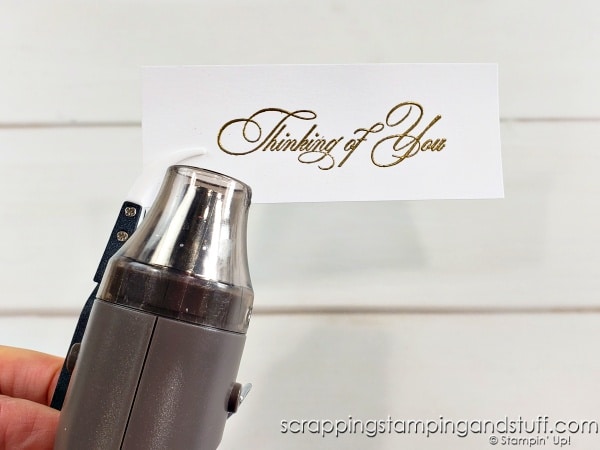
7. Use Tweezers To Hold Paper
If you’re tired of burning your fingers, these reverse tweezers are a lifesaver. Squeeze them to open and pick up the paper, then release and they’ll do the job of holding your paper.
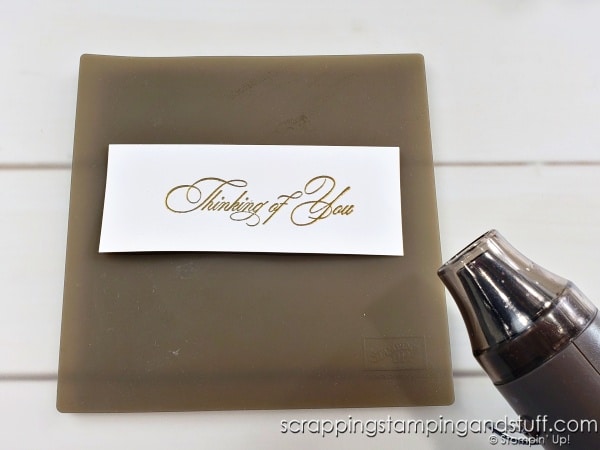
8. Use A Silicone Craft Mat To Protect Work Surface
If you want to lay your paper flat to emboss it, use a silicone craft mat on your work surface to protect it from the heat of the heat gun.
What other embossing tips have I missed? Share them with me in the comments!
Supply List
Here are links to my favorite embossing products!
Product List


")


Learn To Make Cards
Shop Supplies
Rewards Program
Join My Amazing Team
Thanks for visiting to see the new Stampin Up Embossing Additions Tool Kit and for my best tips for heat embossing!
Thank you for these wonderful tips. I was so happy to see your blog reappear in my email. I haven’t received a blog post from you since May 5. You have a wonderful blog & I’ve learned so much from you. Thank you.
Hi Maureen! Take a look around because I’ve shared a lot since May 5!