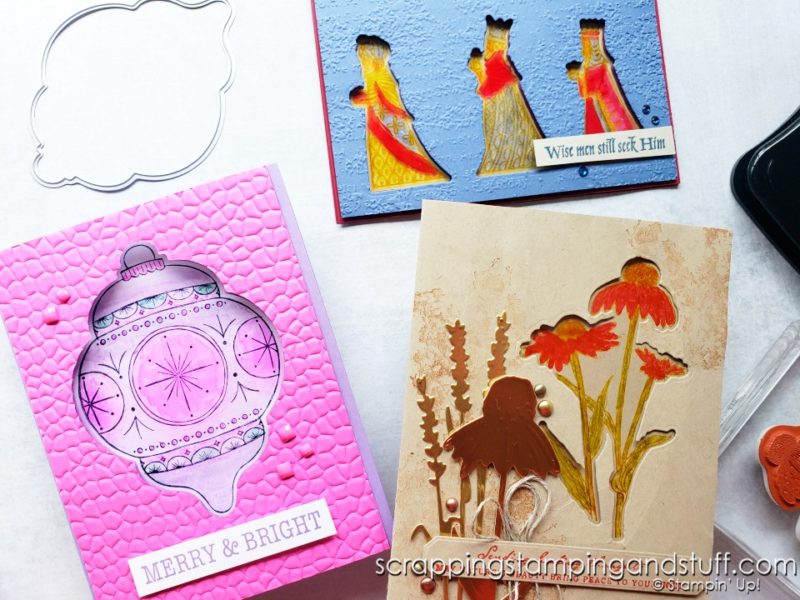
I’ve been having so much fun using our new catalog products, and today I want to share a neat technique featuring some of them. This technique is for making stained glass cards, or cards with the appearance of stained glass in them. You can try this technique with many of the stamp and die bundles already in your collection. Let’s get started!
Featured Bundles
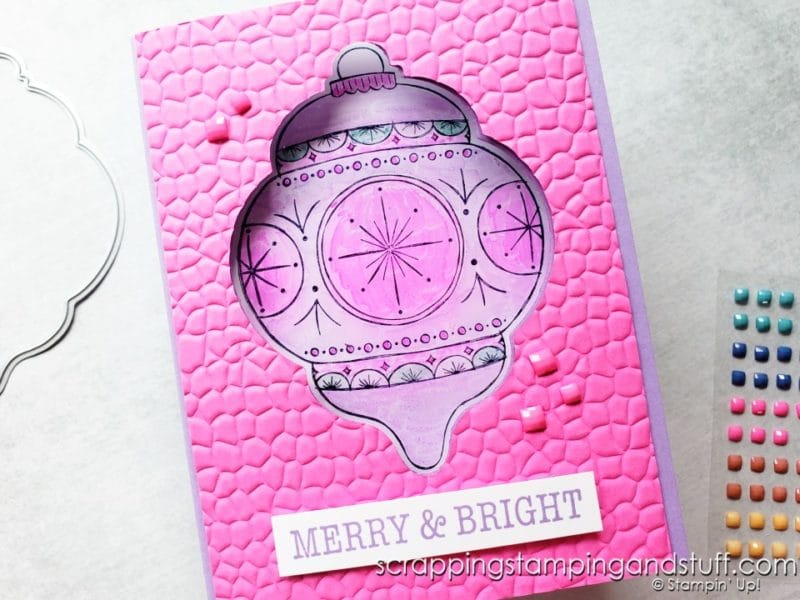
I’ll quickly share the products I used on today’s projects. Here is the Bright Baubles bundle…
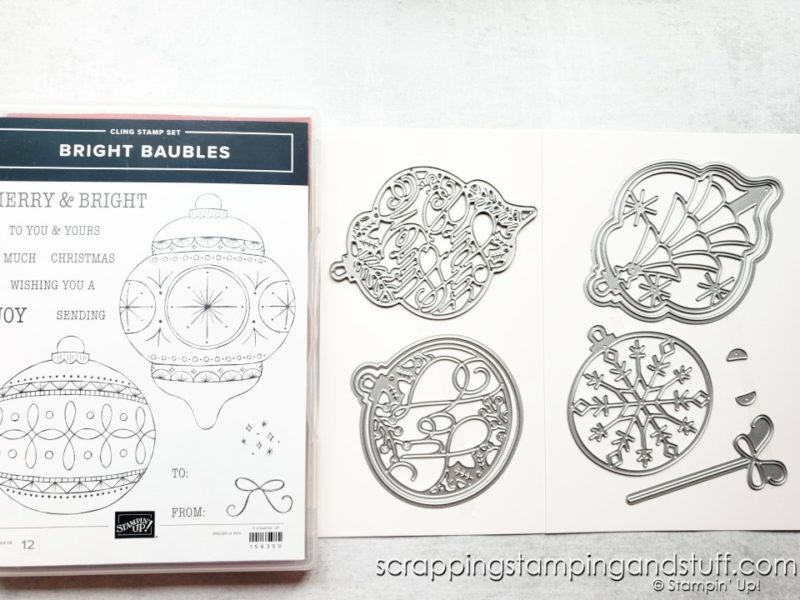
…and the card I created with it.
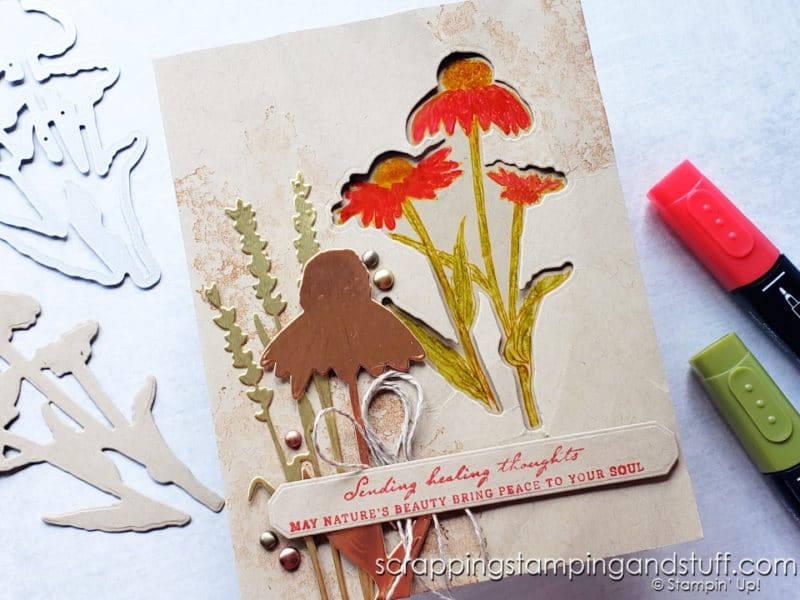
This is Nature’s Harvest – a new favorite of mine.
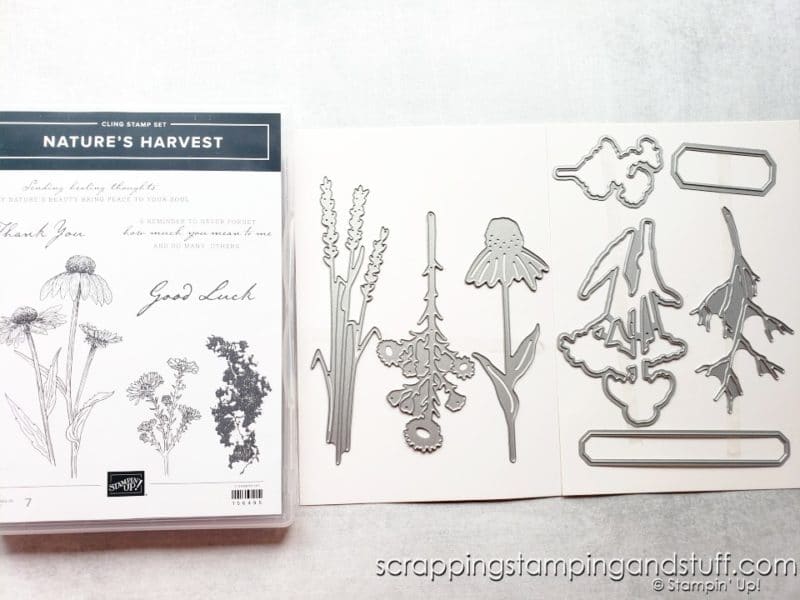
And my finished card.
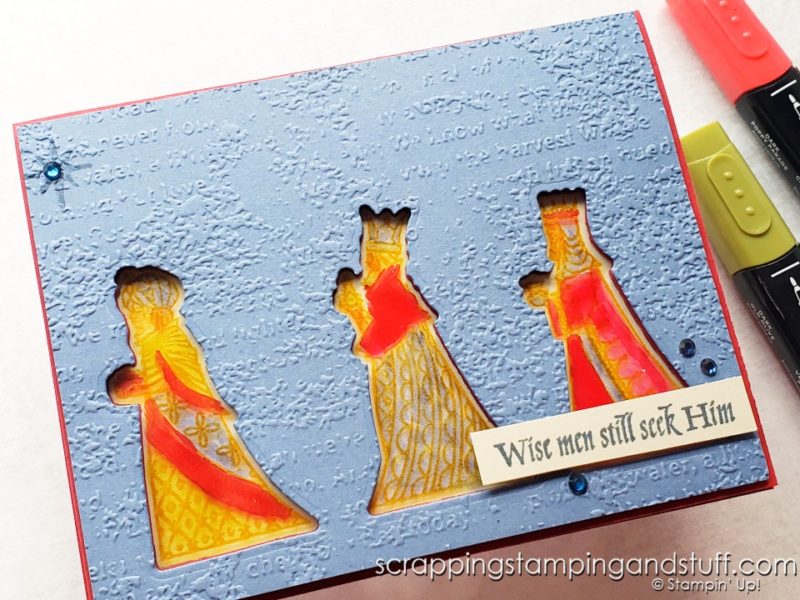
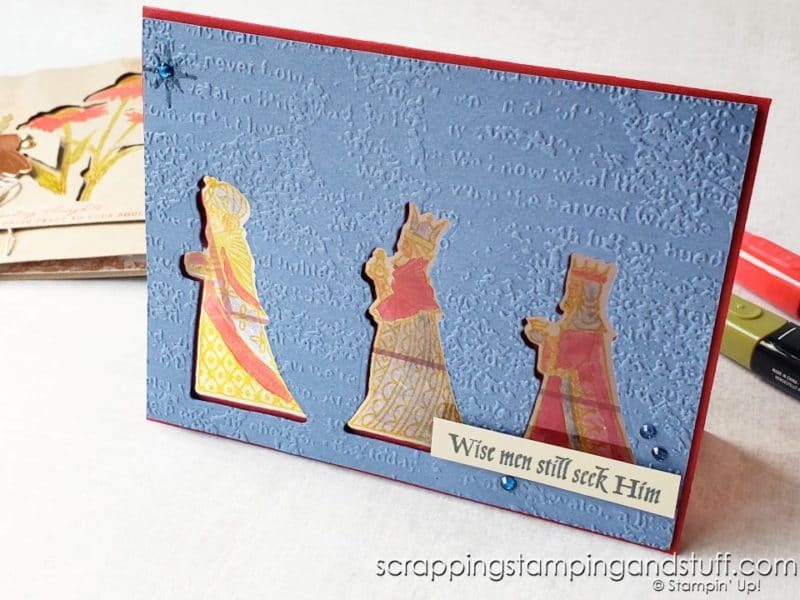
For my third card I used the Great Tidings bundle. Isn’t this neat?
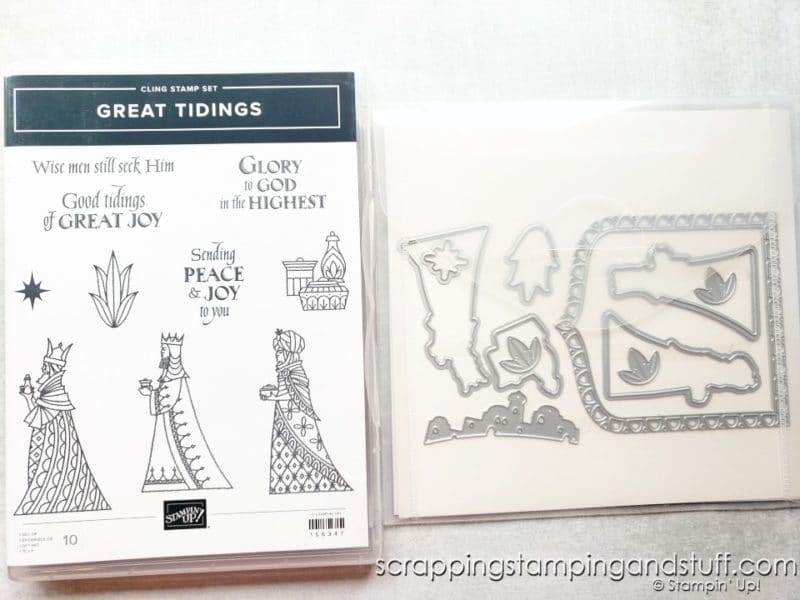
This is the card I created.
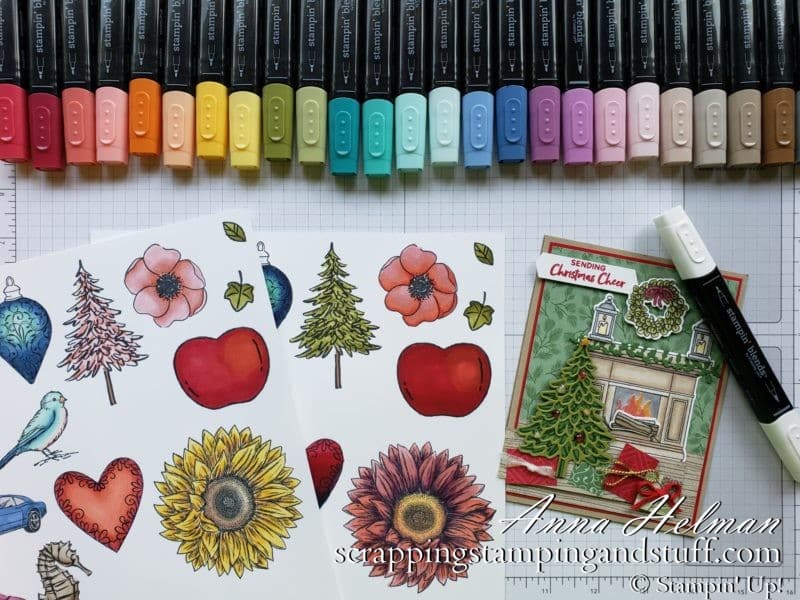
Next I’ll quickly share about a product that makes this cardmaking technique possible – Stampin Blends alcohol markers.
Stampin Blends Markers
To color on the clear window sheets, you’ll need to use Blends alcohol markers. These markers are amazing for blending projects (coming from a non-coloring kinda girl), but for today’s projects we just need something that won’t smear on the acetate pieces. These markers are perfect for the job. You can learn more about Blends alcohol markers here.
Next I’ll share the basics for how to make stained glass cards.
How To Make Stained Glass Cards
Follow the steps below to try this technique yourself, and I definitely encourage you to watch along with my video which is linked below.
Step 1: Stamp Onto Window Sheets
Stamp your image onto acetate window sheets using StazOn ink.
Step 2: Flip Over
Once the stamped image is dry, flip the piece of window sheet over. This will allow you to color on the reverse side of where you stamped. If you color on the same side, you will erase the stamped image.
Step 3: Color The Image With Blends Markers
Add color to the image with alcohol markers. You aren’t able to blend different colors together when using window sheets, so just choose a single color to color an entire area.
Step 4: Die Cut Card Front
Die cut the card base and card front as described in the video.
Step 5: Assemble Card
Assemble as shown in the video.
It’s really pretty simple, and addicting as I found out!
Tips
Here are a few tips for making stained glass cards:
- Begin with basic images – not super detailed ones.
- Make sure to let Stazon ink dry, which take a few seconds on the window sheets.
- Use a piece of window sheet that is significantly larger than the stamped image to allow plenty of area to adhere it to the card.
Materials Used
Would you like to make these cards yourself or add any of the products I used to your collection? Here is my supplies list.
Product List

")


Stained Glass Cards Technique Video Tutorial
Watch along here as I share exactly how I created these cards!

Learn To Make Cards
Shop Supplies
Rewards Program
Join My Amazing Team
Thanks for visiting to see these stained glass cards!
Leave a Reply