I have a gorgeous technique to share today that I’m calling double embossing – heat embossing over dry embossing. If you like to play with different techniques on your cards and other paper projects, you’re definitely going to want to try this one!
As I mentioned above, this technique first involves dry embossing a piece of paper, after which it will be heat embossed on the raised portions using Versamark ink and the heat tool. This gives such a gorgeous effect of metallic accents on the raised parts of the embossing. Let’s talk about how to create this look on your projects!
First I want to mention a bit about dry embossing and heat embossing, in case we have any beginners reading along.
Dry Embossing
Dry embossing uses a plastic ‘folder,’ which is rolled through the Cut & Emboss Machine, to create raised texture in various patterns on your paper.
This is in comparison to heat embossing paper, which is a very different technique. Oftentimes we just say ’embossing’ without specifying which type, but they are different. Next I’ll explain heat embossing.
Heat Embossing
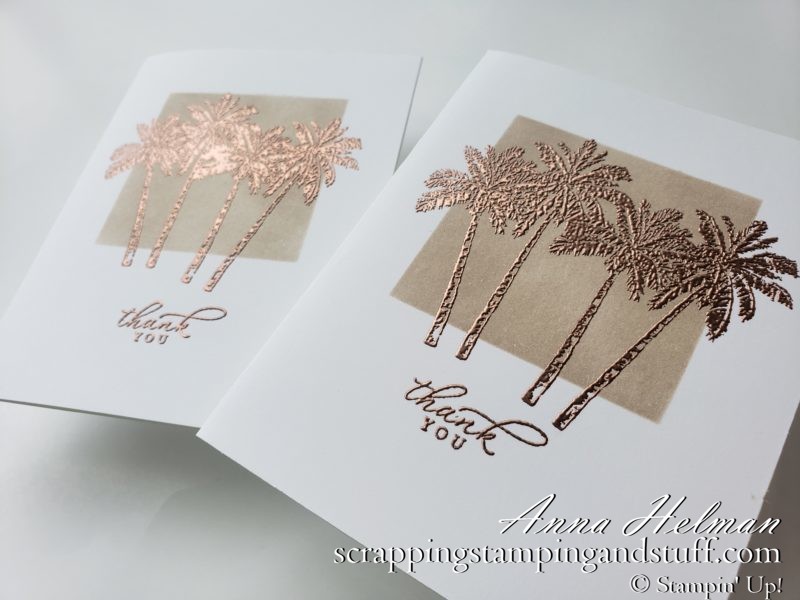
Heat embossing uses clear Versamark ink for stamping, after which a fine powder is sprinkled over the stamped image. The powder sticks to the image, then is heated with a heat tool to melt, or ‘set’ the powder. Below you can see the end result.
Next I want to share how I’ve combined the two types of embossing for an even more beautiful end result.
Heat Embossing Over Dry Embossing
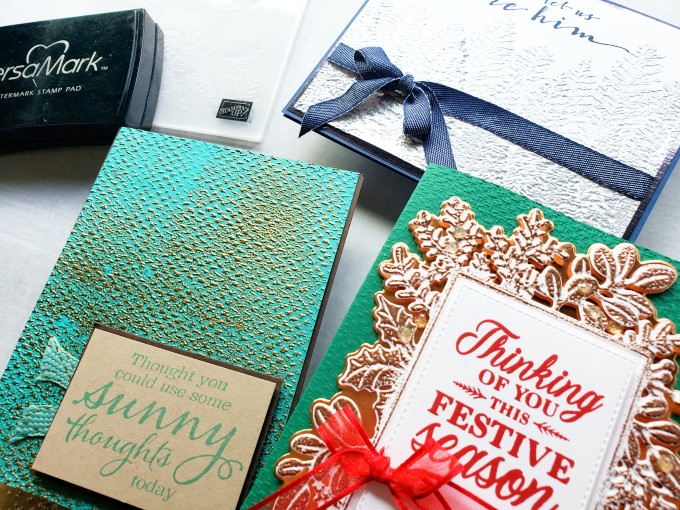
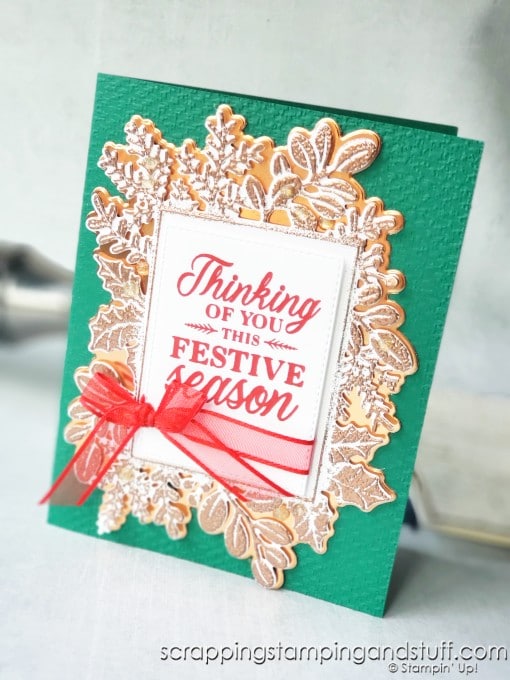
Here you can see some of the cards I’ve made using heat embossing over dry embossing. Keep scrolling for some close ups to really appreciate how pretty they are!
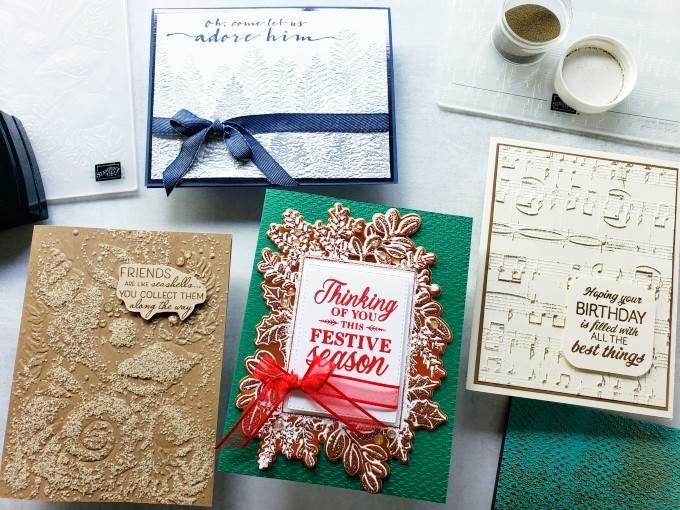
Trying this yourself is really fairly simple.
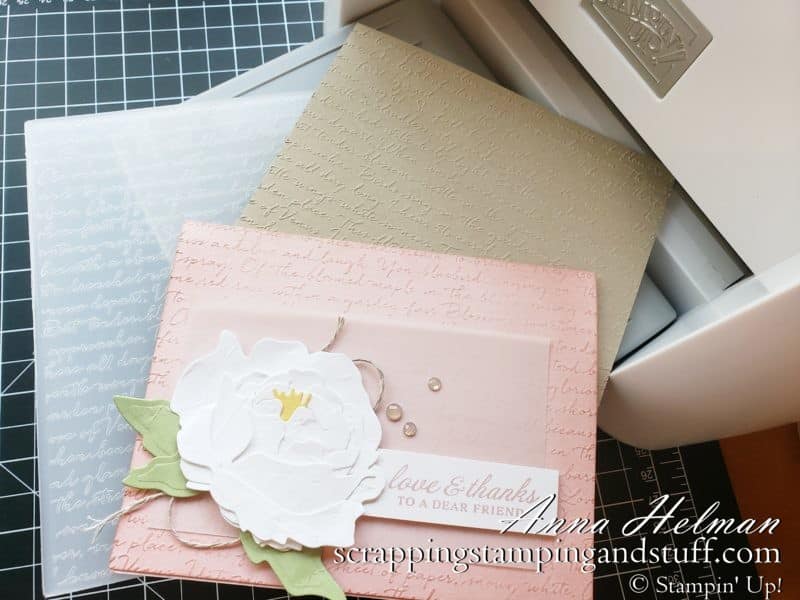
First dry emboss a piece of cardstock. Use an embossing buddy to remove static from your cardstock. Next, place the Versamark ink pad upside down on the paper and gently press it all over the surface. The goal is that ink only touches the raised parts of the embossing – not the lower areas. The fourth step is to sprinkle embossing powder over the entire surface and shake off the excess. Lastly, heat set the powder using a heat tool.
It’s that simple!
Heat Embossing Over Dry Embossing Video Tutorial
To see exactly how I did this, you can watch along here.
Next I’ll share more about the products I used.
Materials Used
Here are some of the products I’ve highlighted with these projects. I’ve included links for all of them below.
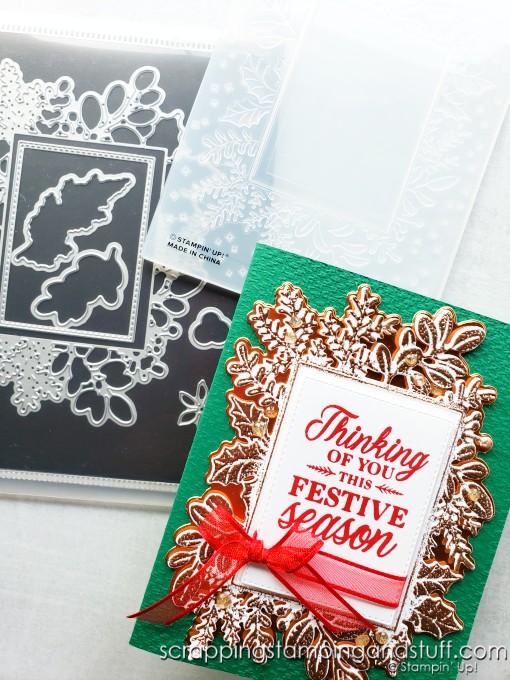
The Merry Melody Embossing Folder

Merriest Moments Bundle

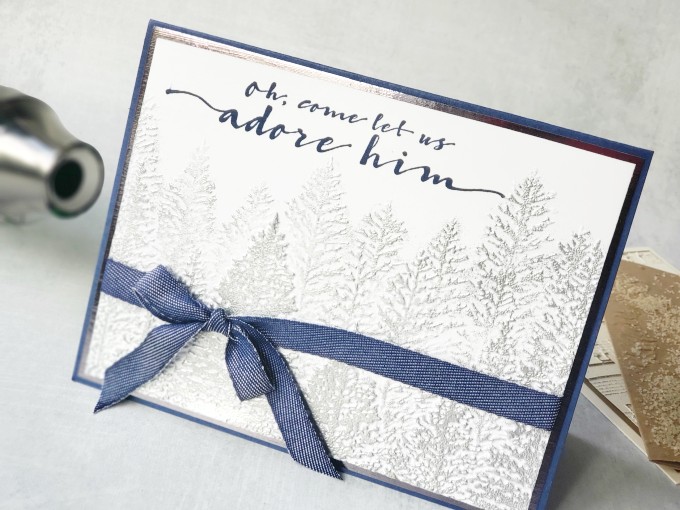
Evergreen Forest Embossing Folder
Here you can find links to the products I have used.
Product List")


")


")
Before we go, I want to share one more way you can use this technique for a really unique look.
Heat Embossing With Sand?
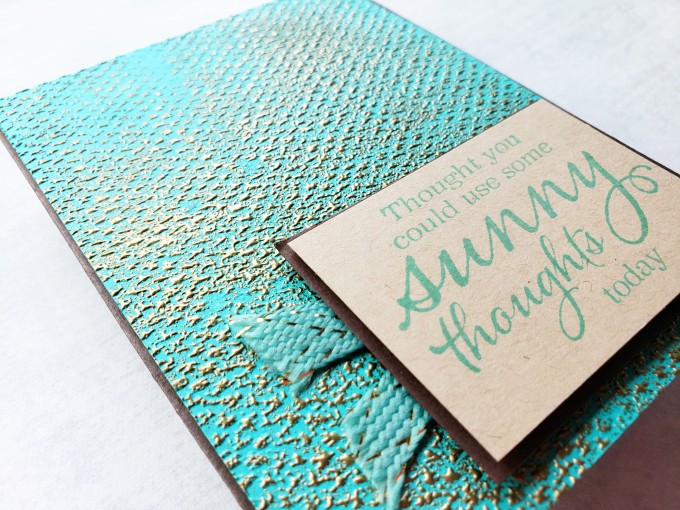
Here’s one more way you can use this technique. See the card below? It has sand covering the surface, over the embossed seashells. Here’s how to create a card like this one.
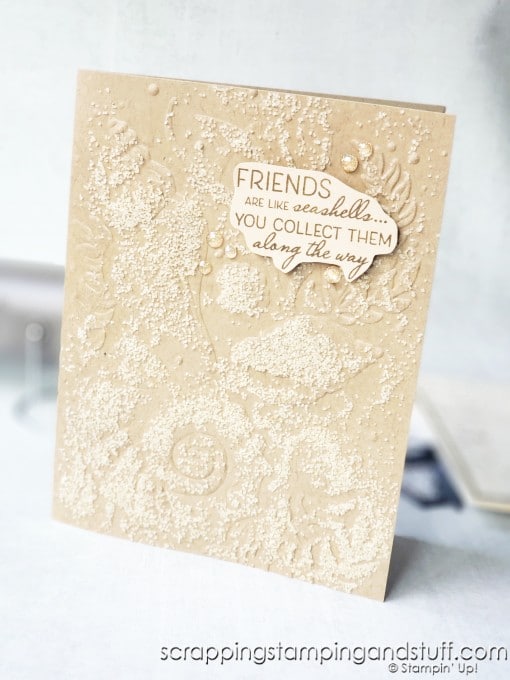
Emboss the cardstock and gently press Versamark over the top as shown in the video. Instead of sprinkling embossing powder over the top, use Heat & Stick powder instead. Use a heat tool to heat set the powder, then immediately sprinkle sand over the top and press it into the sticky surface using your hands. Shake off the excess, then use clear spray paint or another sealer to hold it in place.
Watch along with my video for a few helpful tips on doing this.
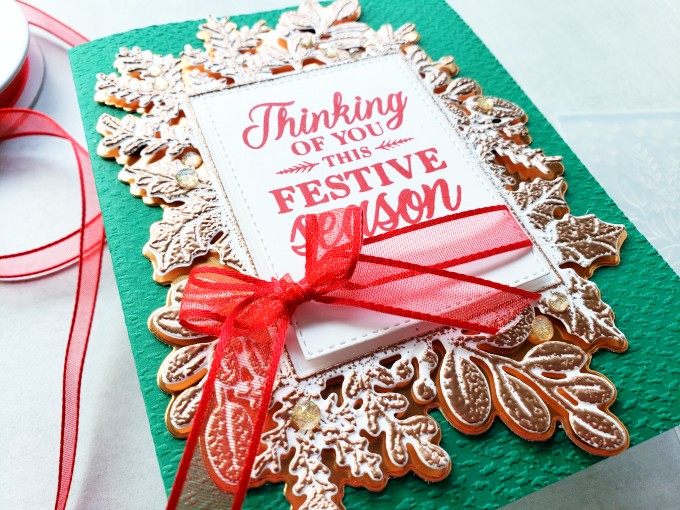
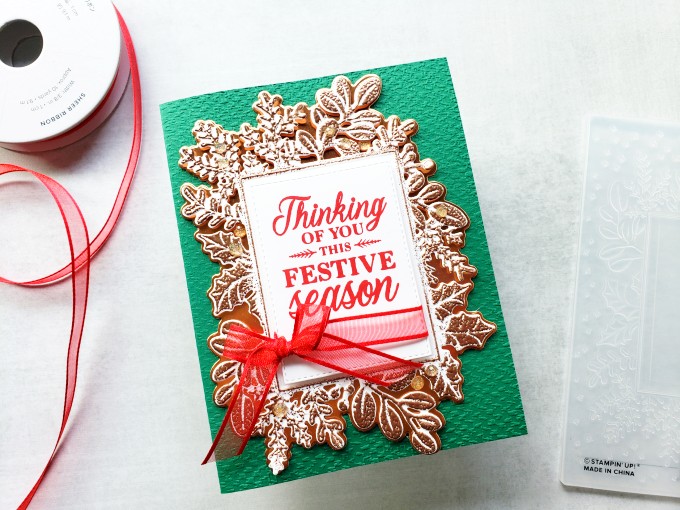
Which card from these samples is your favorite? I think I have to choose this sample with the Merriest Frames Bundle!
Learn To Make Cards
Shop Supplies
Rewards Program
Join My Amazing Team
Thanks for visiting to learn how to use heat embossing over dry embossing for a gorgeous effect!
[…] Here is another project I shared a while back using the same product bundle. For this one I used the ‘hybrid embossing folder’ as designed. First I die cut the detailed foliage from basic white cardstock using the large die. Next I embossed it using the embossing folder. I chose to take it a step further, and I applied Versamark ink to the raised portions of the paper, added embossing powder, and heat embossed it for the foil effect. You can learn more about it in my post on this double embossing technique. […]