It’s a Blast From the Past! Today’s re-post is one of my most highly visited blog posts. It’s a card in a box tutorial. I was afraid of making a card in a box before trying it, but it’s really pretty simple! Enjoy…
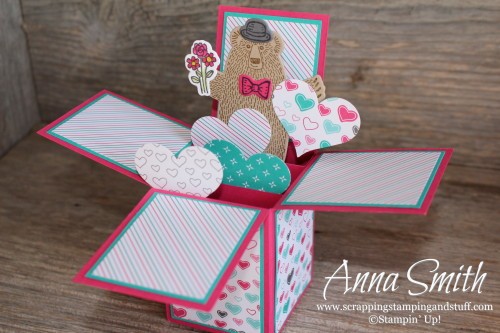
The project that I’m featuring, a card in a box, is actually something that seemed a little scary to me. I had seen them on Pinterest, and my honest thoughts were, ‘Do the people who make these cards have lives? They must spend hours on them!’ Fast forward to a few months ago when one of my customers asked if we could make a card in a box at a class, so I got on my big girl pants and started researching how to make one. Surprise…it’s really not that hard! Not hard at all! Plus it folds up to fit into a regular envelope! All of you experts out there already knew these things, but I’m still fairly new to stamping and I didn’t. I used the Bear Hugs stamp set and framelits to decorate it. Isn’t he cute?
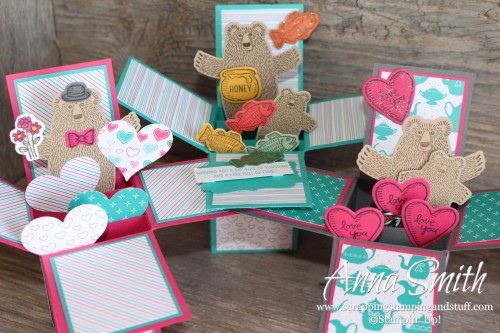
I actually ended up with three versions, so here they are. I absolutely love the Bear Hugs bundle. It comes with fantastic greetings for Mother’s Day, Father’s Day, Valentine’s Day, welcoming a new baby as well as general occasions. The images in the set include the two bears, fish, a honey pot, flowers, a hat, bow tie, skirt and hearts.
Here is a video tutorial showing the steps to put this card together, or if you prefer written instructions, keep reading below.
Card in a Box Instructions
Materials:
Cardstock measuring (mine was Melon Mambo):
- 1 – 5 1/2 x 9″
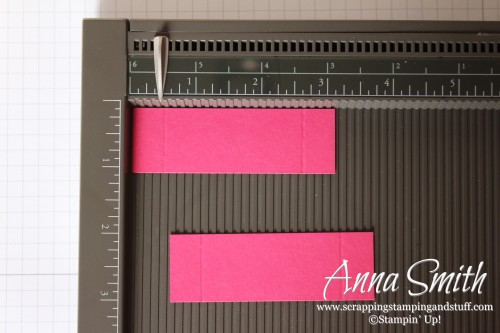
- 2 – 1 x 3 1/8″
Panel pieces (mine were Bermuda Bay):
- 4 – 1 7/8 x 2 3/4″ for box sides
- 4 – 1 7/8 x 2 1/4″ for top flaps
If you’re going to double layer the panel pieces, you also need the following (mine were designer prints from the Have a Cuppa Stack Pack):
- 4 – 1 3/4 x 2 5/8″
- 4 – 1 3/4 x 2 1/8″
Instructions:
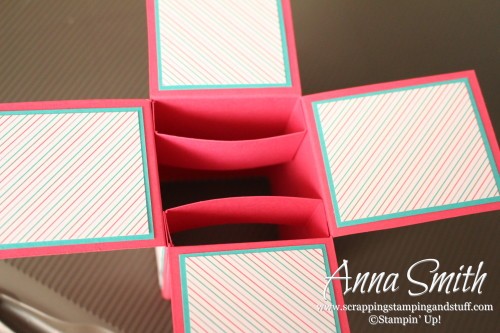
Begin by scoring the 5 1/2 x 9″ piece of cardstock at 2 1/8, 4 1/4, 6 3/8 and 8 1/2″.
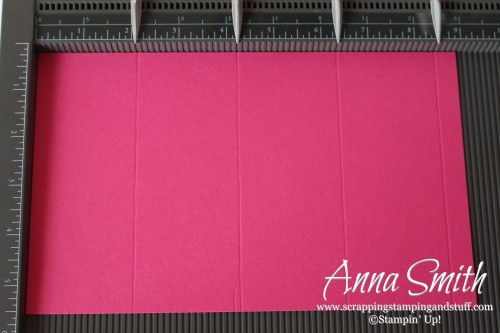
Turn it 90 degrees and score at 2 1/2″.
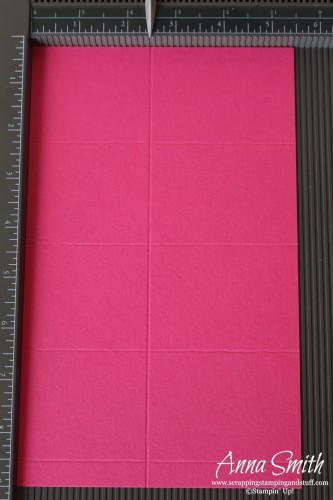
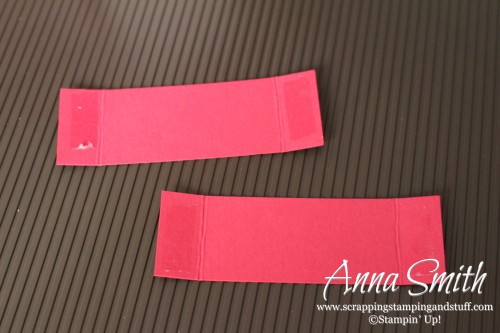
Score both 1 x 3 1/8″ pieces 1/2″ from each end.
Cut the 2 1/2″ lines down to the horizontal score mark. Remove the small corner flap.
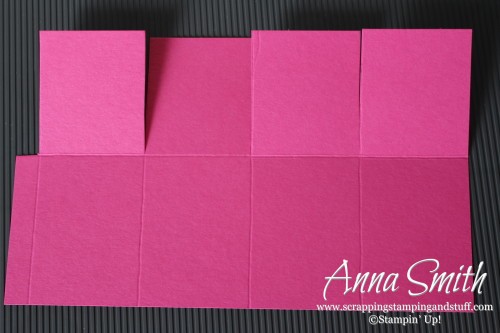
Fold on all the score lines to loosen them up.
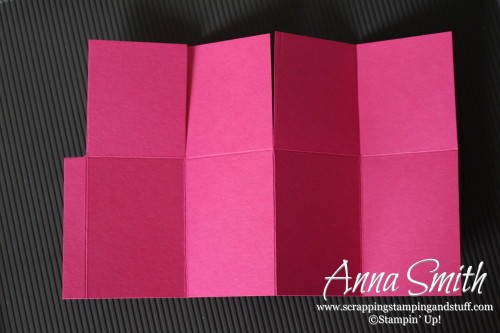
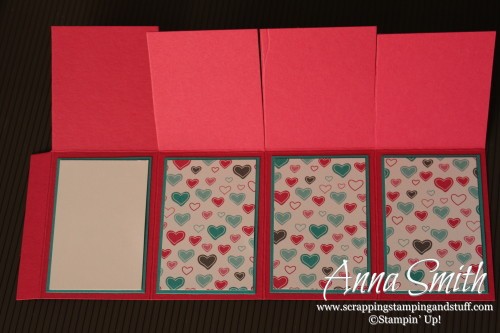
Add panel pieces to the top of one side.
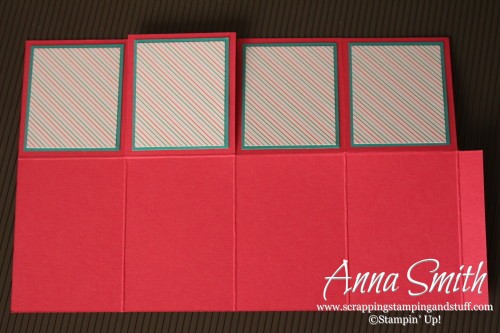
Flip the entire card over end for end so that you don’t see the panel pieces you just attached. Make sure those pieces are still at the top, even though they’re face down on the table. Now you can attach panel pieces to the bottom sections. I made one of the panels white to give me a spot to sign the card.
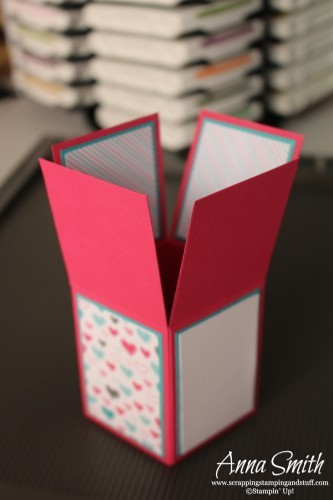
Place adhesive on the small flap on the same side that you decorated the lower panels. Fold up and attach the box together.
Fold the small cardstock pieces on the score marks, then lay them flat. Add adhesive to the end flaps.
Fold and insert flaps into the top of the box. These add support and you can attach your decorations to them.
Now you’re ready to decorate! Make sure if you placed a plain white panel on the back for your signature, that you keep it in the back when you’re adding decorations. Also, make sure that none of your decorative pieces stick out to the side when you fold the card flat to put it in an envelope.
Thanks for visiting to check out my card in a box tutorial! Please shop with me and combine these offers to get great deals!
- Please use hostess code RRNYAW7M when you order.
- Keep track of your Stampin’ Rewards and earn free stamps from me!
- When you order $150 or more, you’ll earn hostess credit through Stampin’ Up!
- Join online stamp club and get free products and projects.
Leave a Reply