Do you enjoy creating small treat holders and gifts? If so, I have a wonderful idea to share with you today, so I hope you’ll join in. It is a mini calendar tutorial and small desk organizer, and it doesn’t even require any stamping. Isn’t this cute?
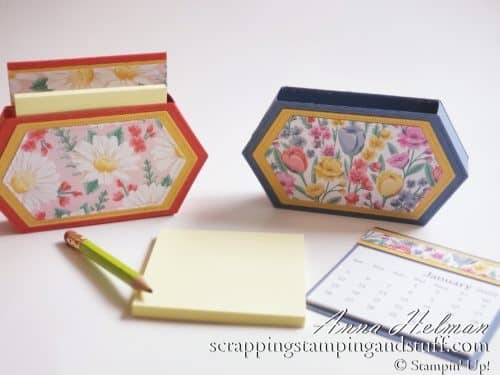
I received one of these organizers last fall at Stampin Up’s OnStage Convention, and I’ve had it on display at my craft retreat since then. Recently I had someone ask for a tutorial to make it, so I here is my tutorial!
Materials Needed:
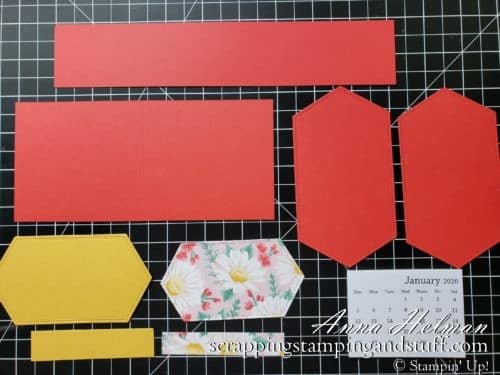
Treat Box
- 1 ¾” x 9 ¼” Poppy Parade cardstock
- Two of the largest Stitched Nested Labels die cuts in Poppy Parade
- One of the second largest Stitched Nested Labels die cuts in Bumblebee
- One of the third largest Stitched Nested Labels die cuts using Flowers For Every Season designer series paper
Insert
- 3 ¼” x 7” Poppy Parade cardstock
- ¾” x 3 ¼” Bumblebee cardstock
- ½” x 3 ¼” Flowers For Every Season designer paper
Instructions:
The easiest way to learn to make these is to watch along with my tutorial video. If you prefer to read along, I’ve included written instructions below.
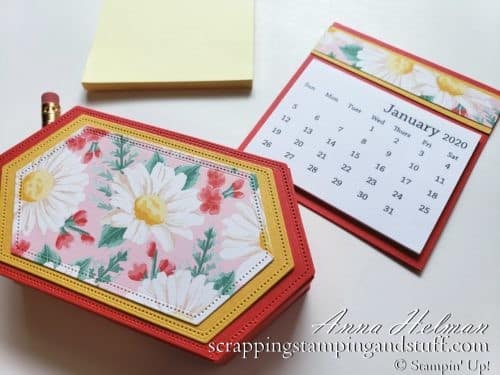
Treat Box
Attach designer paper to the Bumblebee die cut, and attach both to one of the Poppy Parade pieces.
Score the 1 ¾” x 9 ¼” cardstock according to the following. With the cardstock laying horizontally, score at 1 ½”, 3”, 6 ¼”, and 7 ¾”. Turn the cardstock vertically and score at ½” and 1 1/4″.
Punch a ½” hole in the center of one end section. This will be the hole for the pencil.
Fold the cardstock on all score lines. Trim small slits along the score lines in the outer 1/3 of the strip. Adhere this piece to the back of the large die cuts.
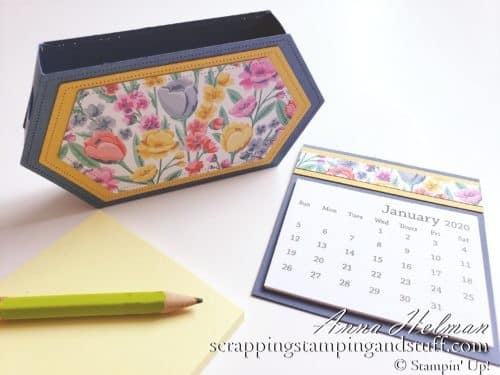
Insert
Fold the large cardstock in half. Place adhesive inside to adhere it together. Attach paper strips at the top, and a mini calendar at the bottom.
I hope you enjoyed today’s mini calendar tutorial. These make such adorable gifts, and you can put them together quickly and easily. Happy crafting!
Please make me your Stampin’ Up! demonstrator! Order from me using the product links at the bottom! Earn rewards points towards free stamps PLUS a gift when you order using July host code: 6XFARQP4. PLUS, with your first order, you’ll receive free catalogs in your thank you package!

Holiday Catalog Product Shares Available For A Limited Time Only!

Sign Up For My Upcoming Virtual Card Classes!
Order the products I used and make this project yourself!

 Designer Series Paper")


How adorable and
would look cute on
a desk.
Carla from Utah
Thanks Carla!
Where did you get the calendar to insert in the box?
Thank you!
Dorothy Riedel
Hi Dorothy,, I go to google, search for ‘mini tear off calendars’ and multiple options pop up. Here are a couple options: 2021 calendars: https://www.walmart.com/ip/ADPMINICAL-2021-MINI-TEAR-OFF-CALENDAR-3X2-10-SETS-2021/559421295?wmlspartner=wlpa&selectedSellerId=1131&&adid=22222222228000000000&wl0=&wl1=g&wl2=m&wl3=42423897272&wl4=pla-51320962143&wl5=9016320&wl6=&wl7=9016253&wl8=&wl9=pla&wl10=112562428&wl11=online&wl12=559421295&veh=sem&gclid=CjwKCAjwmf_4BRABEiwAGhDfSXotM4t56VbIOwfL5eSicouMmtNVzwXBAJQtaQD8oN1yMnf7KSZmxRoCe-MQAvD_BwE and 2020 calendars: https://www.etsy.com/listing/687374844/2020-mini-calendar-tab-pack-of-20-50-or
So pretty and cute, thanks for sharing 🙂
You’re welcome! Thanks for stopping in and commenting 🙂
A wonderful idea, different to the usual boxes, thank you for sharing. They are lovely x
Thank you and you’re welcome!