As I was creating a video this past week, it occurred to me that it might be helpful if I shared my best tips for cutting and preparing card bases all in one place. I share tips and tricks all over the place – here on my blog, on YouTube, and on Facebook, but often these tips are spread out. It seemed like the right thing to do to talk about card bases for just a few minutes. I have several tips to make cutting and prepping your card bases quicker and easier, and I’ll share them below.
Prepping Card Bases Video Tutorial
Watch along here as I share these helpful tips regarding your card bases!
Below I’ll share my tips as well. Keep reading!
Tip #1: Keep Card Bases Prepped & Ready
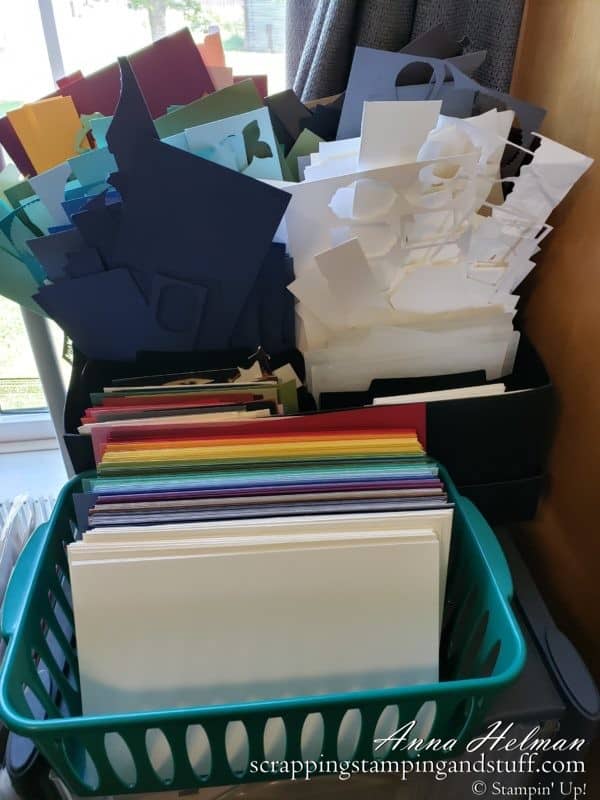
I keep card bases cut and ready, in all of the Stampin Up colors. You can see them in the green basket in the photo below. This saves so much time, because I can simply pull out the color I want without having to go to my cardstock stash, find the right color, score it, cut it…you get the idea. You can find a handy basket like this at the dollar store.
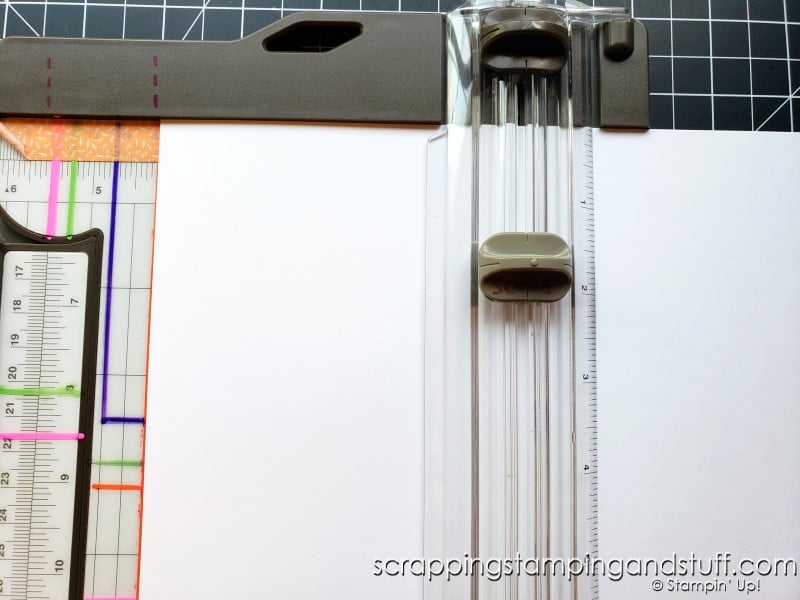
Tip #2: Begin With 8 1/2″ x 11″ Cardstock & Score First
To score and cut your bases, do not cut first! Begin with a piece of 8 1/2″ x 11″ cardstock, and score it in the center at 5 1/2″. Then continue with Tip #3.
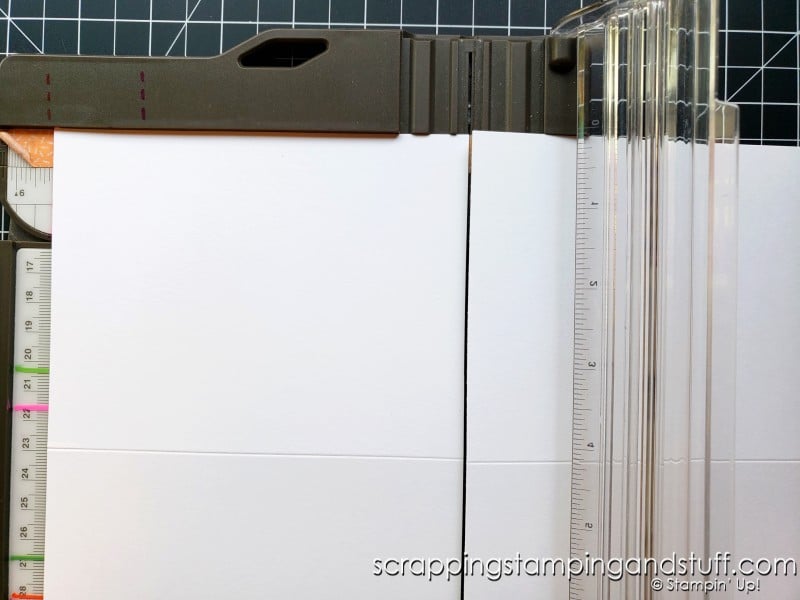
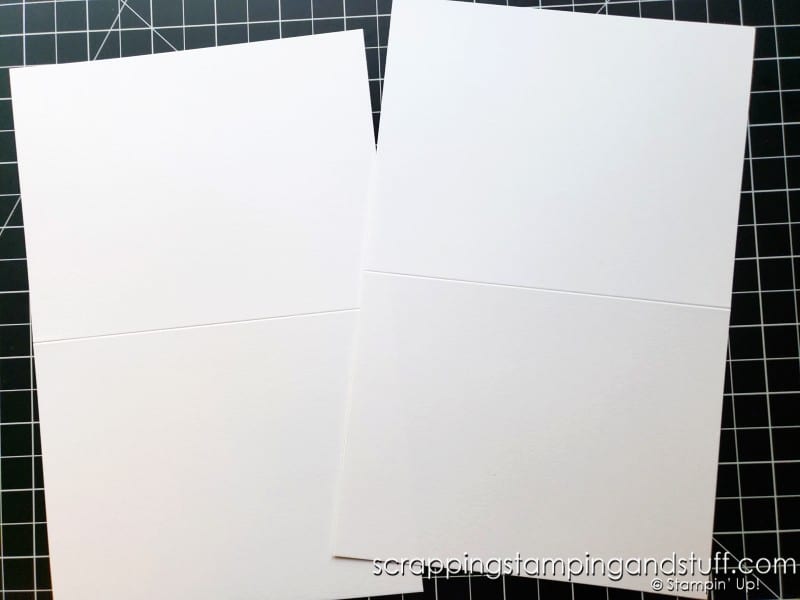
Tip #3: After Scoring, Cut Second
Next, cut perpendicular to the score line at 4 1/4″. By scoring first and cutting second, you’ll end up with two card bases with just one score and one cut!
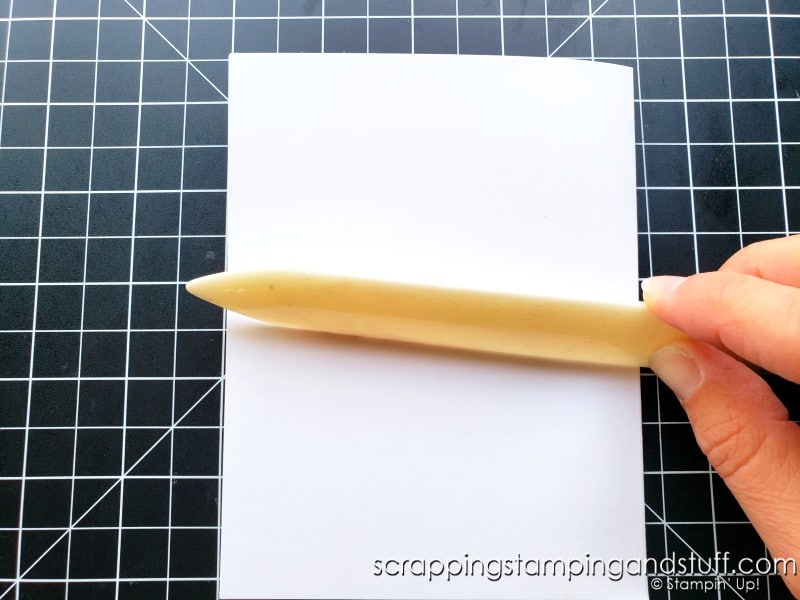
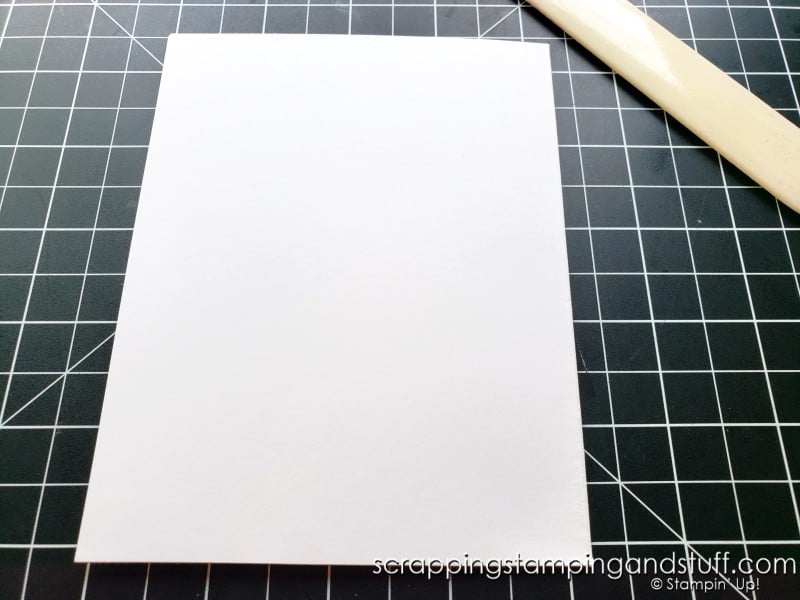
Tip #4: Creasing Your Card – This Is Life Changing!
You must watch the video where I share how to burnish your card, or in other words, crease it using the bone folder. In the past, I used the bone folder in the way I saw others doing it, then I finally discovered to do it this way. My cards lay perfectly flat now, and I want yours to lay flat too!
Supplies List
Here are the supplies I used in today’s video. You can take a look and use the links to order as well!
Product List

Learn To Make Cards
Shop Supplies
Rewards Program
Join My Amazing Team
I hope at least one of these tips is helpful for you. Thanks for stopping in today as I shared my tips for prepping card bases!
Ann,
THANK YOU SO MUCH!! I LOVE that you share so many tips!! It is truly helpful!!
Appreciate ALL you do!
Deb
Thanks so much Deb! I appreciate you following along and commenting!
I love your tips for cutting card bases. I watched the video about the colored guidelines on your paper trimmer, but I can’t find the the measurements. Could you please share them or tell me where to find them. I want to do the same on my paper trimmer.
Thanks Neva! I wonder if I linked to the wrong one. Take a look at this one instead. https://youtu.be/LwSl9MLFt4Q
Hi Anna, the drawn lines are great and you linked to the correct video. In the video you said that the actual line measurements were on your blog. Would you please tell me how to find that specific blog post. Thanks, Trudy
Hi Trudy, I am completely stumped. I cannot find that blog post anywhere. Here are the measurements. Blue 3″ x 4″, Purple 3 1/2″ x 4 3/4″, Green 4″ x 5 1/4″, Orange 4 1/4″ x 11″, Purple 4 3/4″ x 3 1/2″, Green 5 1/4″ x 4″, Pink 5 1/2″ x 8 1/2″, Green 8″ x 10 1/2″, Pink 8 1/2″ x 5 1/2″, Green 10 1/2″ x 8″, Orange 11″ x 4 1/4″. If you have questions please let me know.