Welcome stampers! Occasionally I like to highlight how to use a particular product on your projects, and today I’ll be focusing on masking paper. This is a small, inexpensive item that can add so much to your projects! It allows you to try many new techniques with beautiful results. Let’s talk about how to use masking paper for card making!
What Is Masking Paper?
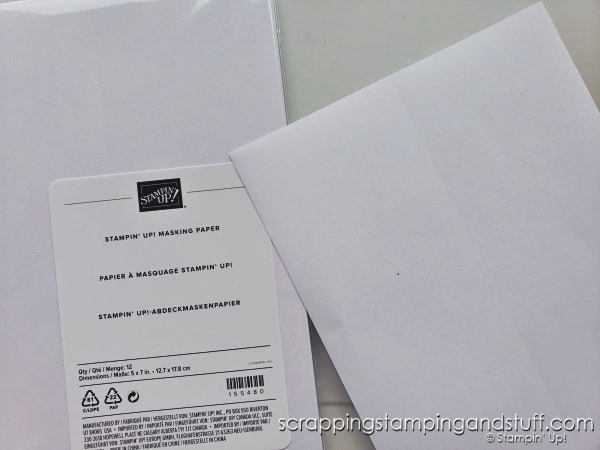
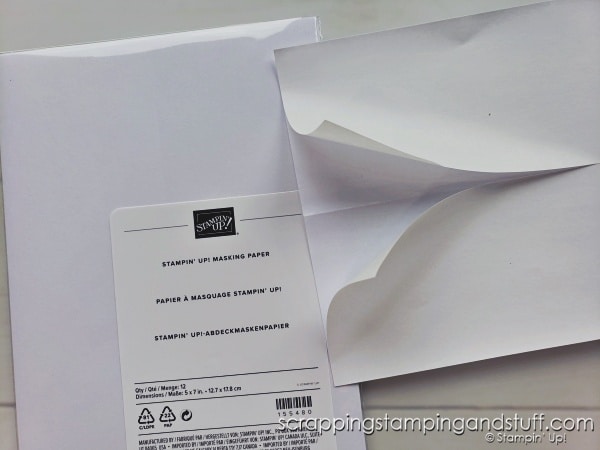
Masking paper is a thin paper that is tacky on the back, and it comes with removable paper backing.
What in the world do we use this for? Let’s talk about that in the next section.
Why Use Masking Paper On Cards?
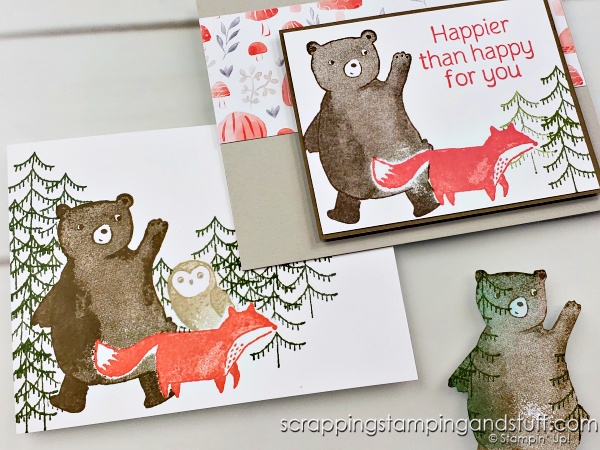
By applying masking paper to your paper projects, you can cover a certain area before applying ink. After applying ink by stamping, blending, spritzing or another method, the paper can be removed, leaving a specific area without ink coverage. This can be for the purpose of having a blank space to stamp a greeting, to make it look like one image is stamped in front of another image, or simply for creative purposes.
How To Use Masking Paper
To use masking paper, you’ll first want to cut or punch the shape you desire to use on your project. This may be a strip, a basic shape like a circle or square, a punched shape or a die cut. Next, remove the paper backing to reveal the tacky back side. Apply it to your project, then apply ink in the desired manner. Then remove the masking paper to reveal the un-inked area.
Below I’ll share seven ways to use masking paper, but first I’ll share the stamp and die bundle I used for today’s projects.
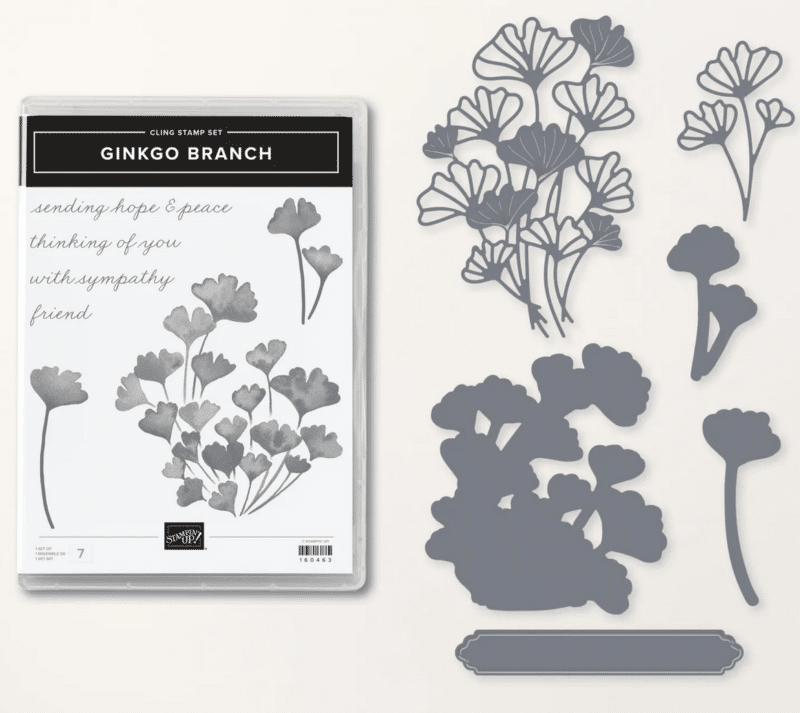
Featured Bundle – Stampin Up Ginkgo Branch
Here you can see the stamp and die set used on today’s cards. Isn’t it pretty? I just love the branch stamp and dies.
Now let’s get creative and look at some ways to use masking paper on your projects!
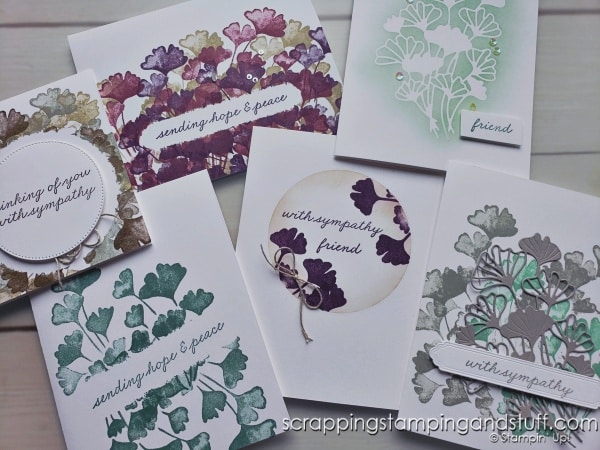
How To Use Masking Paper – Sample Projects
Let’s take a look at seven ways to use masking paper for card techniques.
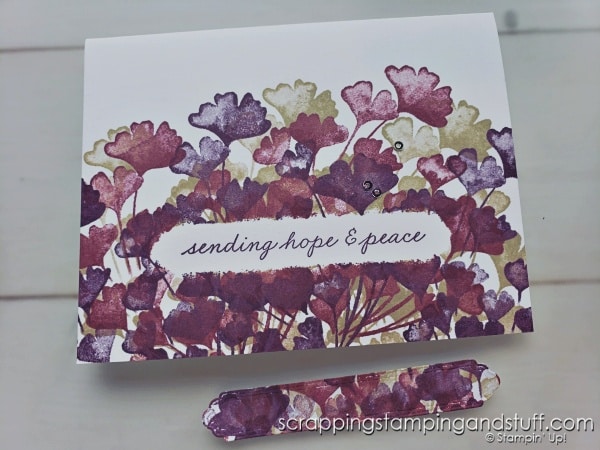
Strip
Apply a strip, do your stamping, then remove the strip and use this area to stamp a greeting.

Circle
Adhere a circle, stamp around it, then remove the circle.
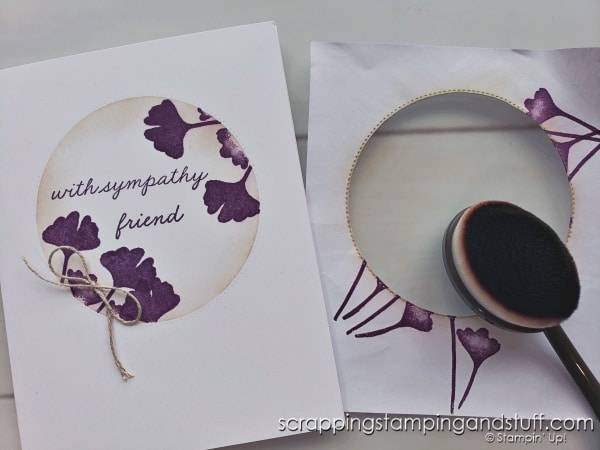
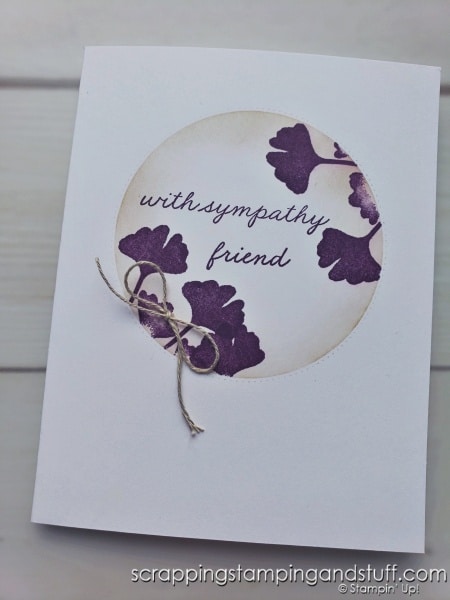
Reverse Circle
Apply the negative piece from cutting the circle. Stamp inside of it, and use blending brushes to add a bit of color all around the inside.
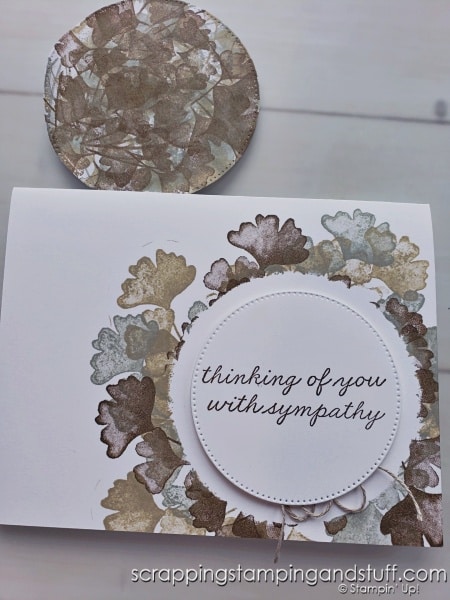
Sentiment Tag
Place the die cut tag onto the card and do your stamping. Remove the tag and add a sentiment.
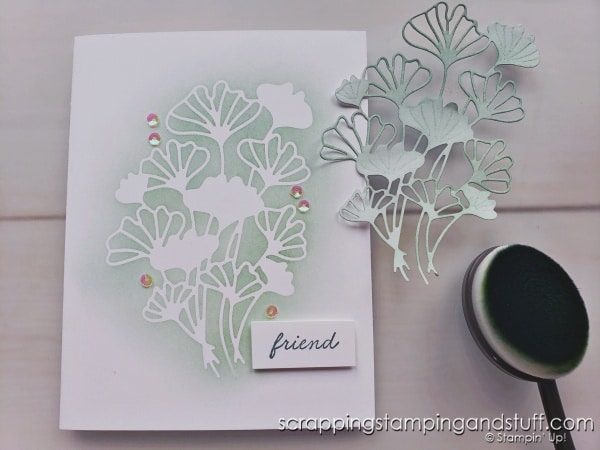
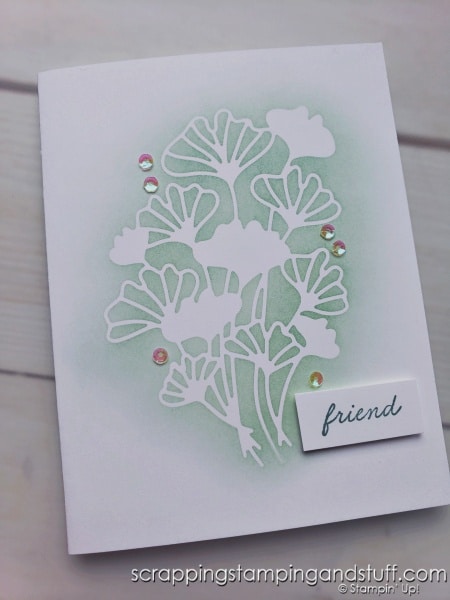
Detailed Die Cut
Apply the die cut and blend ink over the top using blending brushes
Shadow Die Cut
First stamp the branch, then cover it with the shadow die cut piece. Stamp more branches, then remove the masking paper.
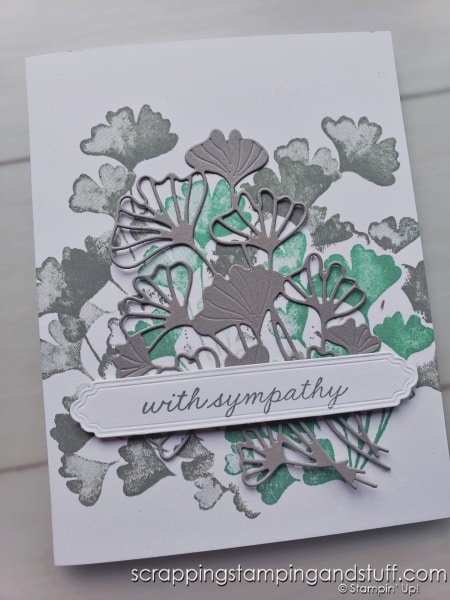
*When using a die cut to cover a stamped image, it will leave a white gap around the image. To achieve the most realistic results and no white gap around the image, you may want to stamp the same image directly onto your masking paper and cut it out by hand. For some stamps, cutting it out by hand isn’t difficult. For this stamp it would be a challenge!
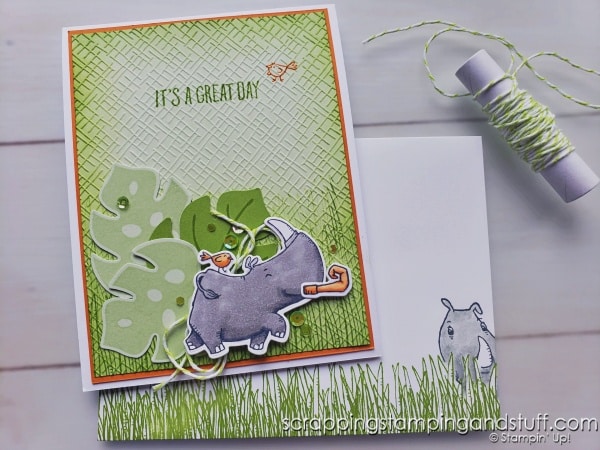
Creating Depth
For the envelope below, I stamped grass, covered the grass with a die cut from masking paper, then stamped the rhino. See more about this pop up fun fold rhino card here.
More Masking Projects
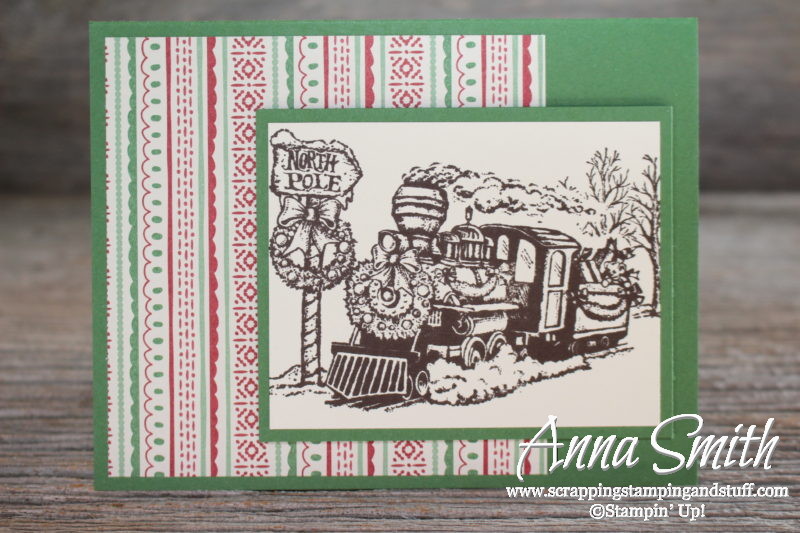
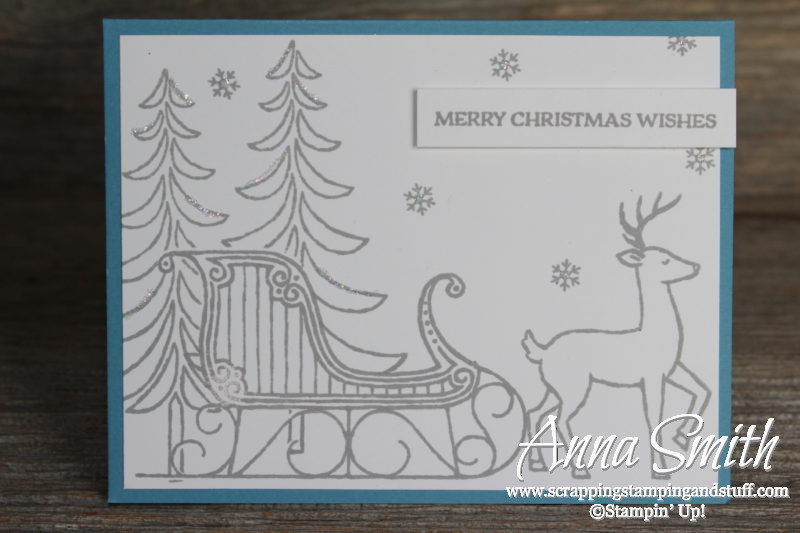
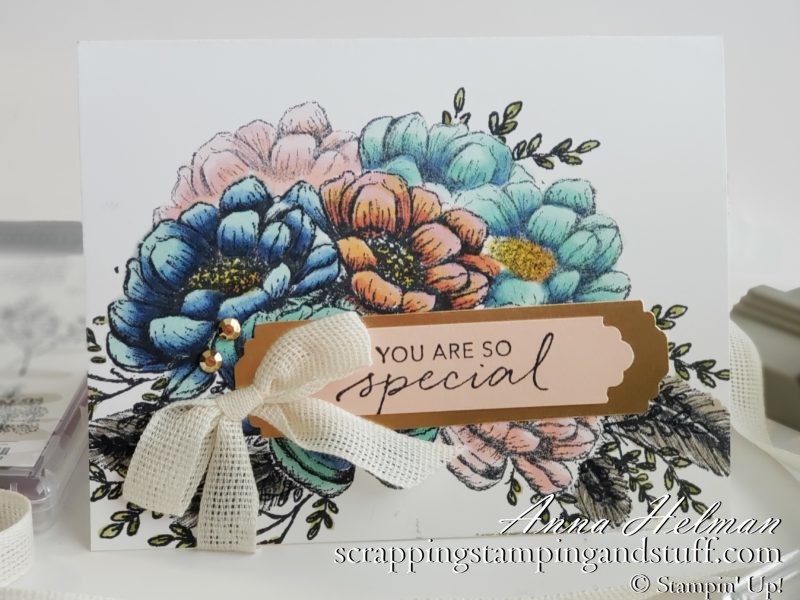
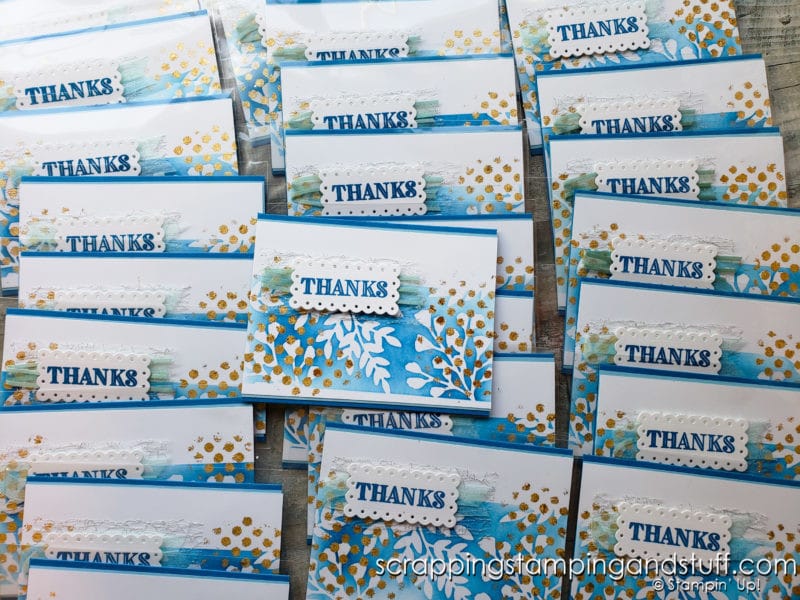
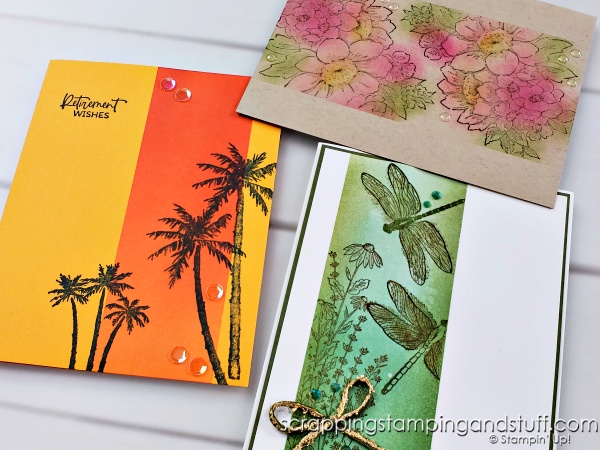
Here are some other past masking projects I’ve created.
How To Store And Reuse Masks
Are you wondering if you can reuse masks once they’re created? Absolutely! To store and reuse masks, just place them on a piece of wax paper and store them for later.

Masking Paper For Card Making Video
Watch along here for details on using masking paper!
This is a fun technique that has unlimited possibilities! Want to try it? Take a look at the supplies you’ll need below.
Supply List
Would you like to add some masking paper to your collection? Or pick up the Ginkgo branch set? Take a look at the supplies I used here!
Product List")


Learn To Make Cards
Shop Supplies
Rewards Program
Join My Amazing Team
Thanks for visiting to learn about how to use masking paper for card making!
Leave a Reply