This past week I shared how to create beautiful card backgrounds using Blends alcohol markers. I promised to share ways to use these backgrounds, and today is that day! I’ll be honest, I split these projects up into two separate blog posts because after I created the backgrounds, I looked at them kinda like…now what? I was lacking inspiration for what exactly to do with them. I finally got to creating with them and got really excited about the beautiful projects that resulted. Take a look below!
Using Alcohol Marker Backgrounds Video
Watch along below and hear about lots of ways to use beautiful backgrounds on your card projects.
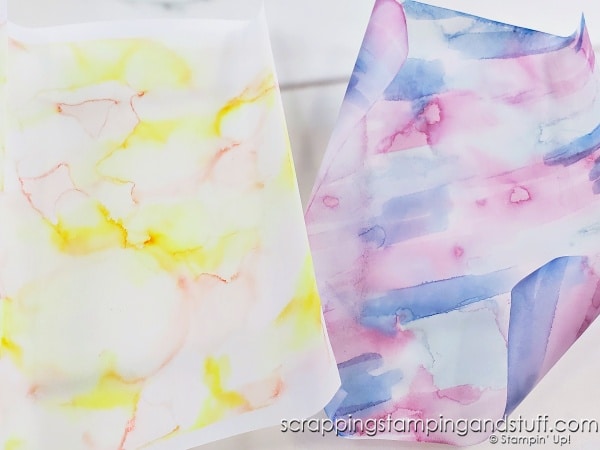
Alcohol Marker Backgrounds
For details on how I created these backgrounds using Blends Alcohol Markers, take a look here.
Other Ways To Use These Ideas
If you don’t have any alcohol marker backgrounds and you don’t plan to create any, keep in mind you can use all the ideas below using stamped backgrounds, watercolor backgrounds, or designer paper prints.
First – Attaching Vellum To Cardstock
When you create alcohol marker backgrounds, the vellum pieces tend to curl up. Because of this, and because vellum is semi-transparent, attaching them to cardstock can be tricky. I sugget laying the vellum with the curly edges face up, then use Seal adhesive to create a border around the edges of the vellum. Add a little Seal in the center, and then carefully attach to cardstock. You can trim the edges with a trimmer if they don’t lay flat or if you want to remove them for aesthetic reasons. I shared how I do this in the video, so take a look if you have questions.
Ways To Use Alcohol Marker Backgrounds
Let’s talk about how to use these backgrounds. For all of them except #5, you’ll want to attach the vellum to cardstock before proceeding to the technique.
1. Use As A Basic Background
Easy and beautiful!
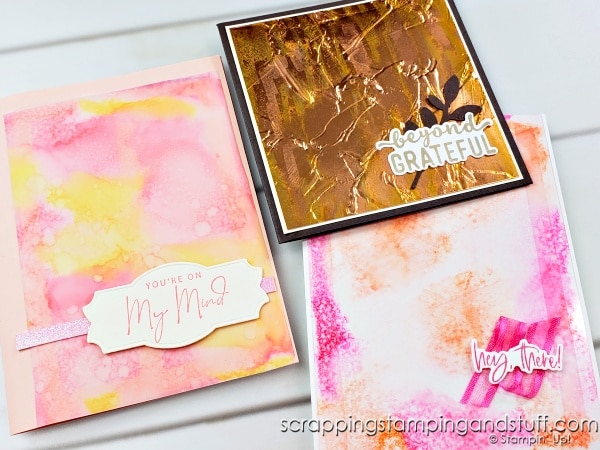
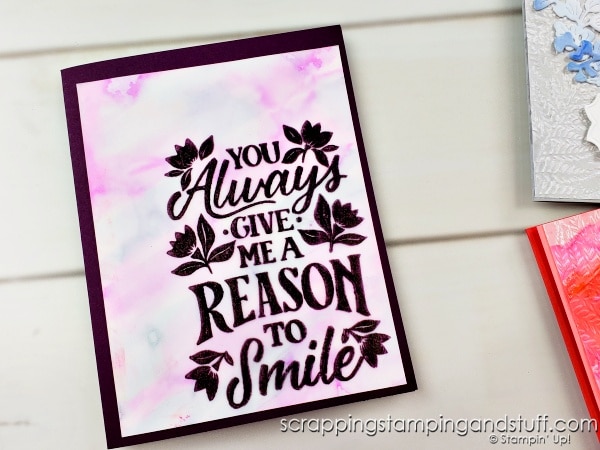
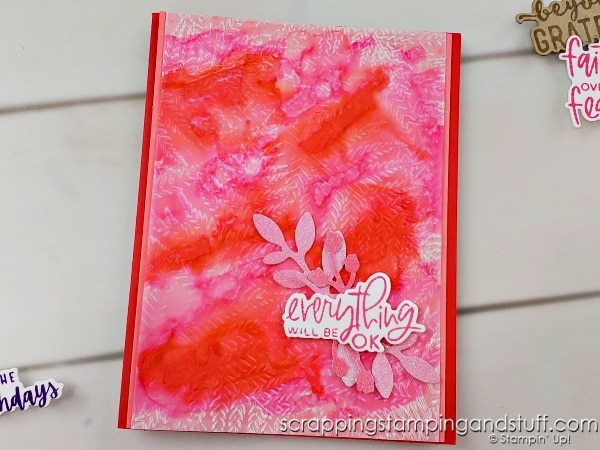
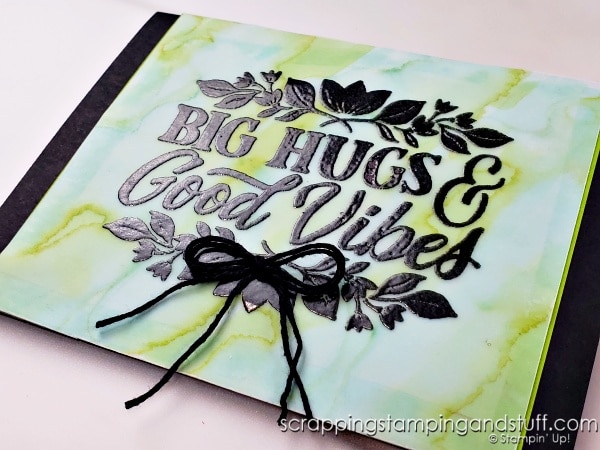
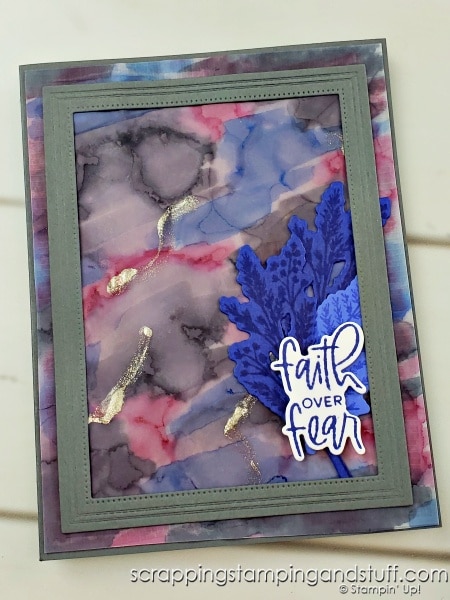
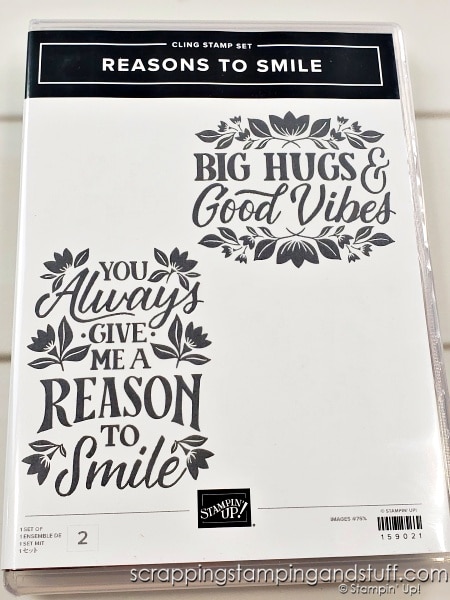
2. Add A Large Greeting
This greeting is from the Reasons to Smile Stamp Set. Isn’t it neat? I love how big and bold it is.
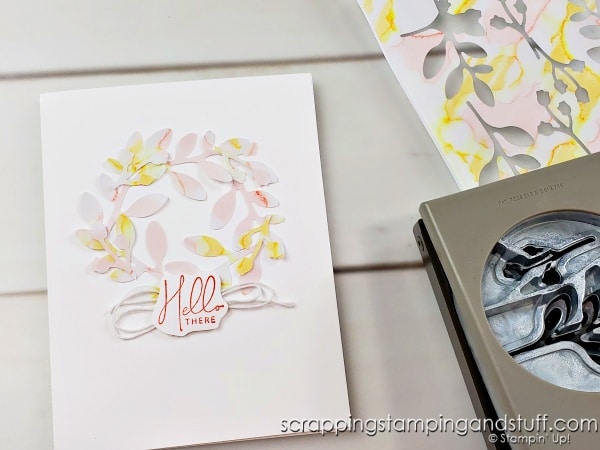
3. Use For Punches
Use the background to punch pieces to add to a card.
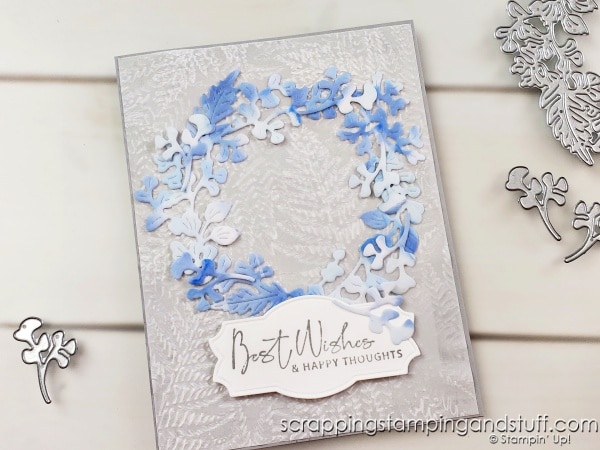
4. Use For Die Cuts
So pretty!
5. Emboss
Run through your Cut & Emboss machine using an embossing folder. This has the added benefit of making the vellum less curly, and it will be easier to attach to a background. It can also help hide the adhesive behind the vellum. I suggest embossing the vellum before attaching to cardstock rather than after, but both are options.
6. Heat Emboss
Stamp with Versamark, then add embossing powder and heat set with a heat tool.
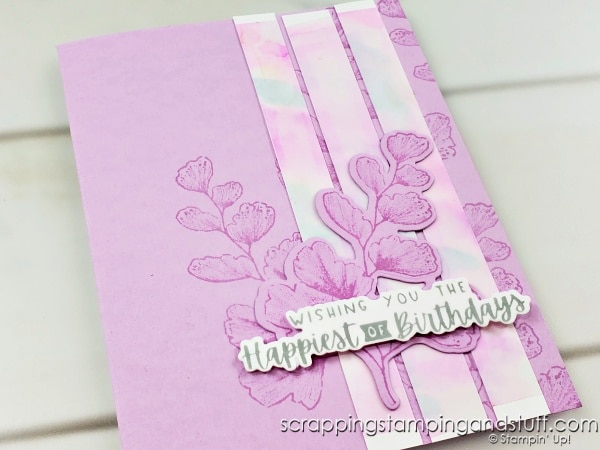
7. Create Strips
When cutting strips, cut them where you have strips of adhesive underneath to make sure they don’t separate from the cardstock base.
8. Layer Several Together
Layer several of your backgrounds on top of each other for a multi-color appearance.
9. Create a Stained Glass Window Card
For this card, I die cut a rectangle from the card front, and attached an alcohol marker background that I created on an acetate window sheet. You do want to keep in mind that the inside of the card will show through the window unless you place elements on the front that are not transparent.

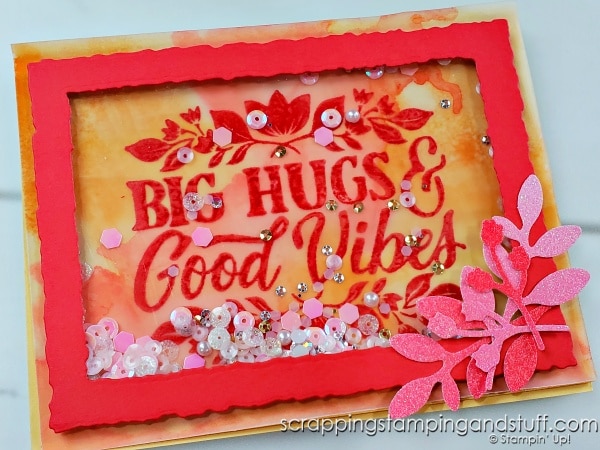
10. Shaker Cards
Shaker cards are a wonderful use for these backgrounds! I chose to stamp a large greeting on the background and then create a shaker with it.
What other ways would you use these backgrounds? Share in the comments below!
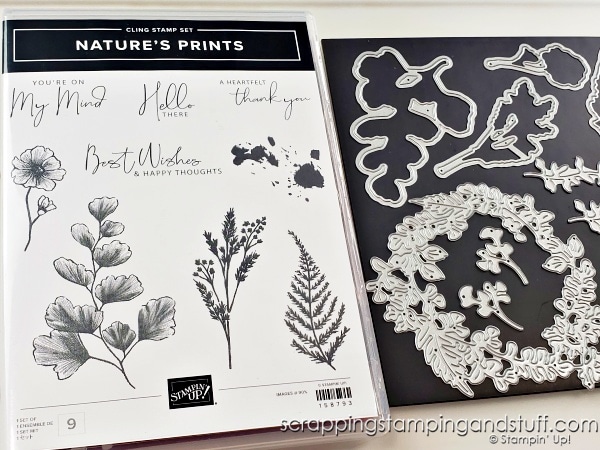
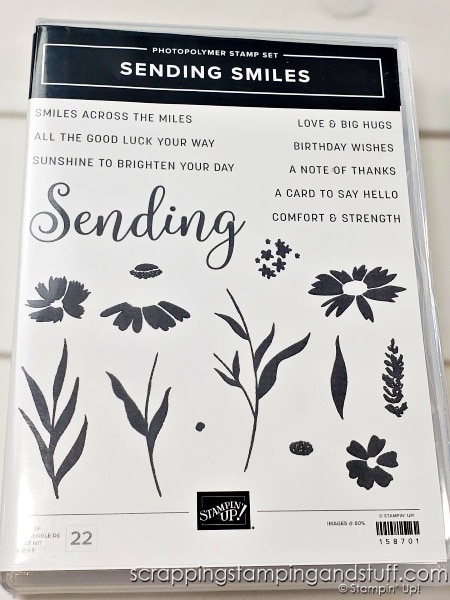
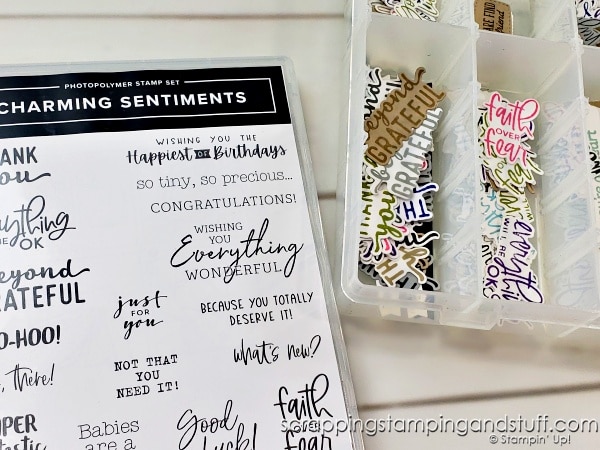
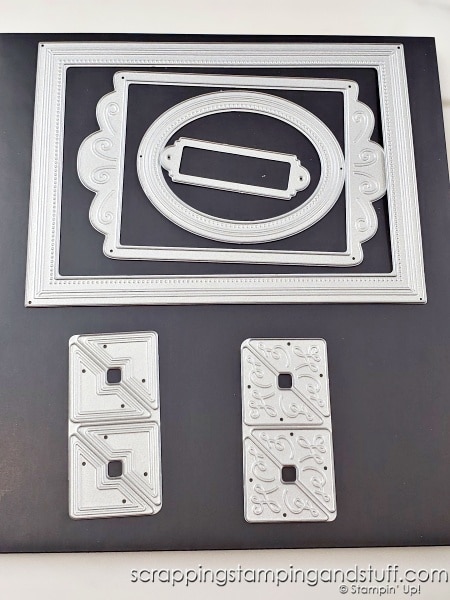
Featured Stamps & Dies
Here are the stamp and die sets that I highlighted on today’s projects. If you’re interested in ordering any of them, use the links in the next section.
Project Materials
Here are the supplies I used on these cards.
Product List")
")
")
")
")
")
")


")


Learn To Make Cards
Shop Supplies
Rewards Program
Join My Amazing Team
Thanks for visiting – have a wonderful day!
Leave a Reply